


3 Mistakes To Avoid When Applying Press-on Nails

Press-on nails are affordable, super convenient to use, long-lasting, reusable, and come in a range of sizes, styles, colors, and designs.
Despite these advantages, getting them to look natural and last for as long as possible without falling off can be tricky. If this has been keeping you from enjoying and using press-on nails, that’s about to change.
In this blog, we tell you about the 3 biggest mistakes you need to avoid when applying press-on nails, complete with tips and tricks for achieving the perfect press-on nails.

Here are some common mistakes you may not know you’re making:
1. Skipping Nail Prep
Nail prep is an essential first step to press-on nail application. Before putting on press-on nails, you need to make sure that your nails are as clean as possible so that the glue adheres to your nails properly.
How to do it?
Here’s a step-by-step guide:
-
Start by washing your hands thoroughly with soap and water. This will help you create a clean base.
-
Next, buff your nails with the rough grit side of the buffer to remove every speck of dirt, oil, grease, hand cream, etc. Doing so will create a coarse surface that your press-ons can stick to.
-
Finally, push your cuticles back with a cuticle nail pusher to get rid of excess skin. Use an alcohol pad to remove any remaining residue.
Following this nail prep procedure will ensure that your natural nails have a clean surface for your press-on application. As a result, you’ll notice that your press-ons adhere better to your nails, helping your manicure last longer.
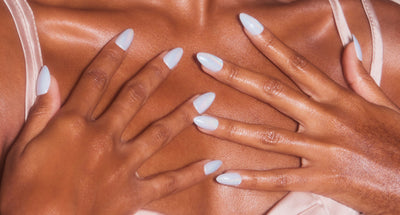
2. Using the Wrong Nail Size
Size is an important factor when trying to achieve natural-looking press-on nails. Go too big or too small and you risk getting stuck with a manicure that looks like a 5-year-old’s handiwork. Luckily, getting the right-sized press-ons isn’t rocket science.
Every press-on kit comes with a number on the underside of the nail denoting its size — 0 is the largest size while 11 is the smallest. Match the press-on nails with your nail size. This will help make your press-ons look more natural.
While press-on nails complement your natural nails quite well, sometimes they’re simply not a good fit. When you find yourself in-between sizes, we recommend veering away from a larger size as it will pop off very easily and make your manicure look shabby. Opt for a smaller size instead that won’t overlap with your skin. Alternatively, you can also file the sides of your press-on nails to accommodate the size of your nail beds.
3. Air Bubbles
Apply freshly-glued press-on nails on top of your natural nails, ensuring that they’re as close to the cuticle line as possible. Here comes the tricky part: carefully layer the press-on nails at a downward angle. You need to get it right the first time since pulling it on and off to adjust its position can affect the glue’s ability to adhere to your real nails.
Once you’ve layered a press-on nail, press and hold it down at the center for 30 to 60 seconds. Make sure to apply some force. You’re doing this to ensure that moisture doesn’t get between your nails and your press-ons. While you’re at it, pinch the sides of the nails to eliminate air pockets and improve adhesion.
Getting the Glue Right
When using press-ons, getting the right amount of glue is key since they allow your plastic nails to stay on your actual nails. The right amount of glue depends on how long you want your press-ons to last. For example, if you’re planning on changing or removing your nails after a week, a couple of drops should do just fine. If you’re looking to make your nails last for 1 to 2 weeks, it’s a good idea to apply the glue on your nails as well as your press-on nails.
Press-on nail glue is super sticky so use it sparingly to avoid getting it all over your cuticles.

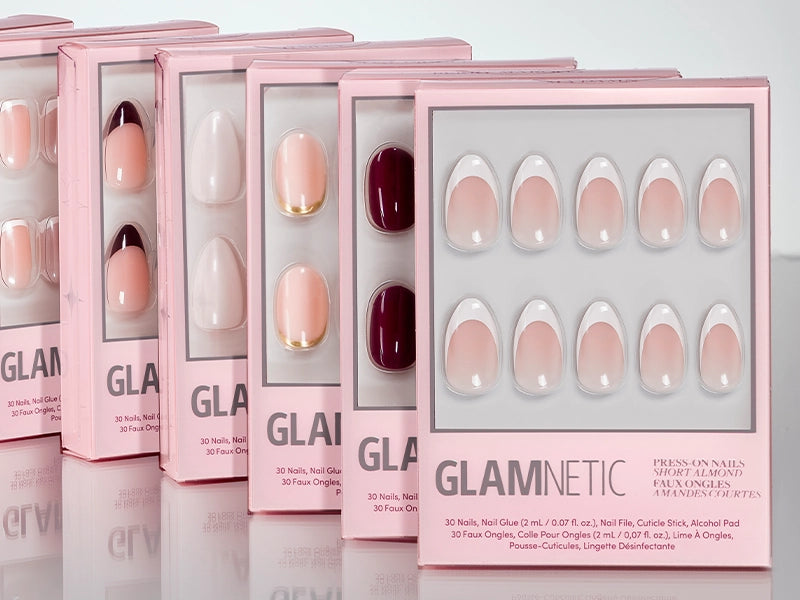
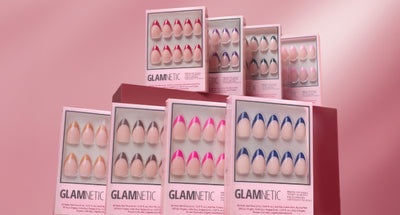
Explore the Wonderful World of Press-on Nails With Glamnetic
One of the main reasons we love press-on nails is it gives us so many wonderful choices! We also get to see what our nails can potentially look like before buying anything. If you adore having a wide selection of gorgeous-looking press-ons, check out Glamnetic’s extensive range of nail sets and bundles.
See if you aren’t inspired by these absolutely creative and professional-looking press-ons:
-
Boogie Brown: This medium almond manicure style pairs a natural-hued base with an effortlessly cool brown and beige design for a timeless yet trendy look. Because of the toned-down brown shades, it’s perfect for the office but still keeps your nails Instagram-worthy and attractive!
-
Light Beam: Long coffin-style nails offer a semi-glossy transparent shine that is conservative yet daring. If you like extra-long, edgy nails, these press-ons are just what you need.
-
Mariposa: This short coffin style offers high-shine nails that are tempered by a soft lilac color. Nails are embedded with small, purple butterflies then topped with a super glossy UV topcoat, giving your nails a sweet yet eye-catching aesthetic.
-
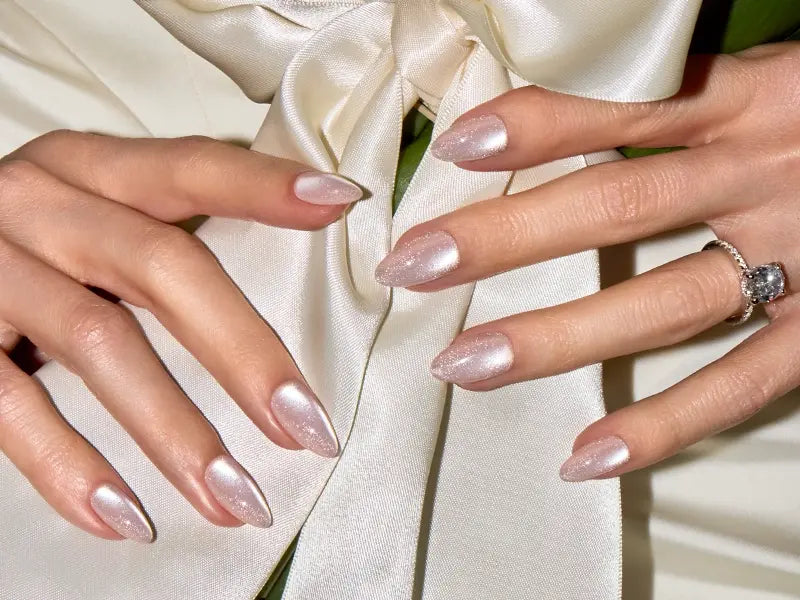
Nebula: Medium-pointed almond-shaped nails are given an otherworldly look with this bold design. These press-ons have an almost holographic appearance with their shiny mix of blue, pink, and purple colors.
-
Winter Storm: This short pointed almond-shaped style has a holographic tip and a neutral, semi-transparent finish for a frosty barely-there look. It's perfect for people who want to add a dash of sparkle to their natural nail styles.
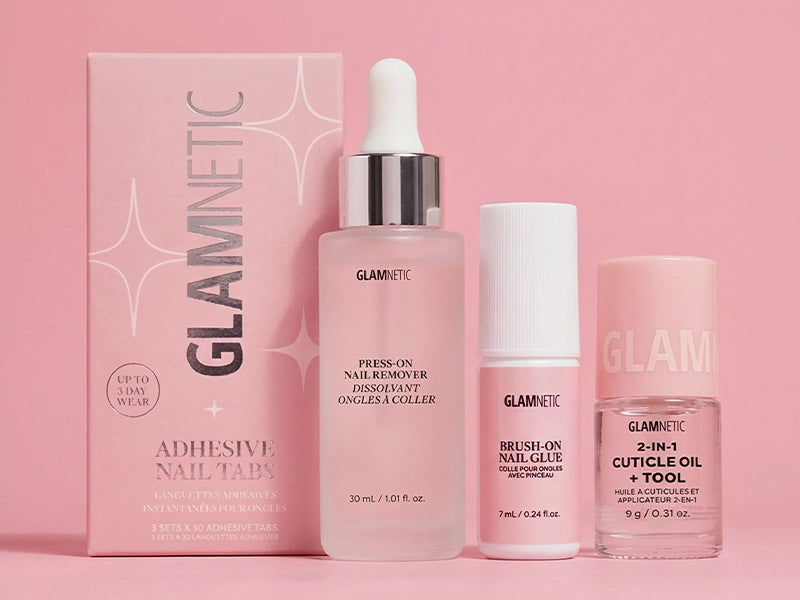
Each Glamnetic nail kit comes with everything you need for the perfect press-on application. Glamnetic nail kits have 30 nails of different sizes, nail glue, a double-sided nail file to make buffing and filing easy, a cuticle stick to push your cuticles back, and an alcohol pad.
Breathe new life into your nails today by visiting Glamnetic’s wide and gorgeous selection of press-on nails and bundles.
♡SUBSCRIBE BELOW FOR 15% OFF YOUR GLAMNETIC PURCHASE!♡

