


Step by Step Guide For Custom Press-On Nails

What’s better than press-on nails? Custom press-ons, of course. Press-on nails are a way to have your nails perfectly manicured in a minute without the cost or hassle of going to the nail salon. Plus, you don’t have to worry about nail refills—another bonus.
Press-on nails are found in pretty much any color, shape, or length you can imagine. They’ve become super popular since the pandemic hit when people couldn’t go out to get their nails done. Since press-on nails are on-trend and custom nails are even more popular, we are going to guide you through the steps on how you can create your own salon-quality custom press-on nails at home.
Create a Nail Plan
First, choose the press-on nails that you want to use. Glamnetic has many styles to choose from. Since you will be customizing your press-on nails, the original length of the nails doesn’t matter. You can file any set down to the size and shape that you want.
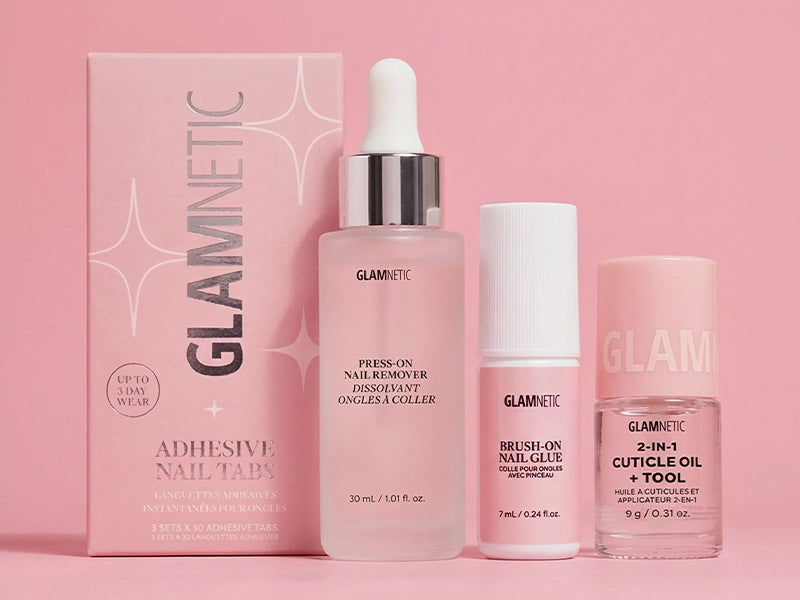
Have your press-on nail set ready with the nails, glue, cuticle stick, and nail file laid out in front of you. You may also need tissue and cuticle oil. The nails will only take a few minutes to apply, so make sure you’ve set aside that time to apply your nails.
Size Matters
There is a range of nail sizes inside each Glamnetic press-on nail set box. Lay the nails out on a table in front of you. Now hold each press-on nail up to your digits to see which sizes fit each nail.
For easy customization, simply file down the press-on nails on the sides for a flattering customized fit. You can also file down the length.
Once you have determined which nails you will use, lay them out one by one in front of you, starting with the thumb and moving across the sizes of each nail until you have all five nails laid out.
Do the same, on the other hand. You should have one press-on nail per finger chosen. Save the remaining press-on nails to use if you need to replace one later.

Apply the Press-On Nails
Once you have chosen your press-on nail set, it’s time to apply and customize them. If you decide to use rhinestones or other nail designs, you will do that at the end of the application. Gather your supplies, and let’s get started.
Clean Up Your Cuticles
The area around the top of your nails is called the cuticle. This transparent skin protects your nail area from infection, and caring for your cuticles helps to maintain your nail health.
Apply cuticle oil to each cuticle. Then, gently push back your cuticles on each finger. Pushing your cuticles back will provide a nice, clean-looking nail plate for your press-on nails to adhere to.
Never tear or completely remove your cuticles—your mani shouldn’t hurt.
Prep Your Nail Plate
Prep your nail plate for the application of the press-on nails by rubbing each nail with the alcohol prep pad. Make sure to remove all traces of dirt and oil from the nail plate. Your nails will need to be clean for the nail glue and press-on nails to achieve a strong adherence.
File & Customize Your Nail Shape
Use the nail file to file down your natural nails to the desired length. You can customize your nails now if you like or after they have been applied to your nails. It’s up to you.
If you want to customize your nails in this step, simply file down the press-on nails to the length you want them to be. You can even reshape them or file the sides down to create a more custom fit.
Apply Glue
Working one nail at a time, apply glue to your nail and the press-on nail. Then place the press-on nail to your nail and press down for about ten seconds to set the bond. Repeat gluing each nail until all of the nails have been applied.
Customize The Fit
After all of your nails have been applied, grab the nail file. For a customized shape, file around the edges. File and shape the nails to your liking, and voila! Your customized press-on nail set is complete. If you want to add rhinestones or other nail art, get ready because now is the time to do it.
Optional: Customize With Gems & Nail Art
Sometimes you may just want a little extra glitz and glam added to your press-on nails. It is easy to do this. All you need is nail glue and the gems you choose to apply. You can also apply painted nail art with striping polish or a dotting tool and regular nail polish.
Apply Rhinestones
To apply rhinestones, simply apply a tiny dot of nail glue to your press-on nail and place the gem on top of the glue. You may want to use tweezers to grab and place the gems.
Continue applying the gems wherever you want them to be. Use a tissue to carefully dab away any extra glue.
Paint Nail Designs
If customized nail art is your thing, then grab a bottle of nail striping polish or a dotting pen and regular nail polish.
Striping polish is a small nail polish bottle with a thin brush made to paint intricate nail designs. It comes in lots of colors, so choose your favs and paint away! Make sure you allow several minutes for the designs to dry before using your hands.
If you have a dotting tool and regular nail polish, simply place the tool carefully in the paint to get a small amount of paint on the tool. Create dots on your press-on nails by placing the dotting tool in various places on the nails. Again, make sure the nails are dry after painting them before using your hands. Apply a top coat to seal in the design.
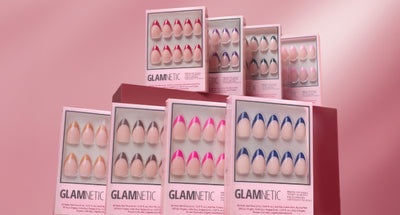
Glamnetic Press-On Nails
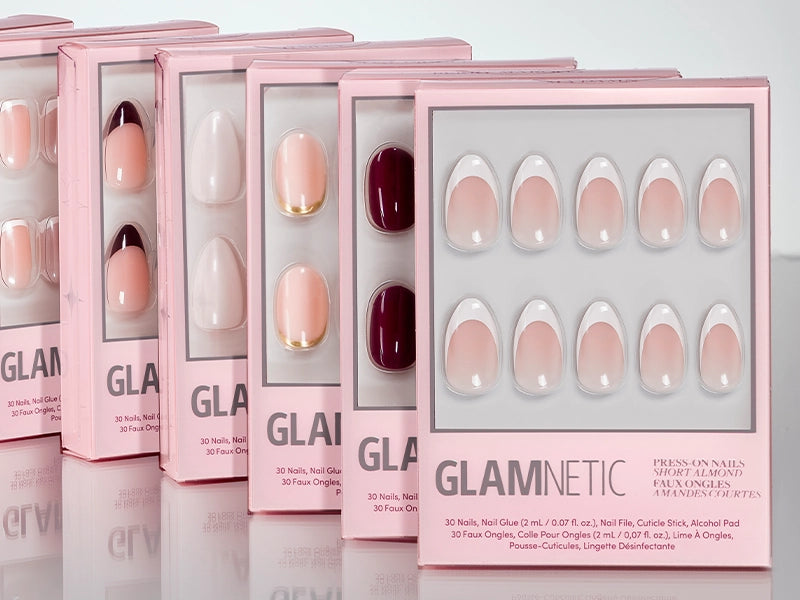
Glamnetic press-on nails are on-trend nails that you’ll be obsessed over. Each set comes with its own nail file, cuticle stick, and an alcohol prep pad. There are a variety of sizes in each box, making it easy to find your perfect fit. If you are unsure as to which nails you should get, check out the nail quiz. Here are some of our press-on nail faves:
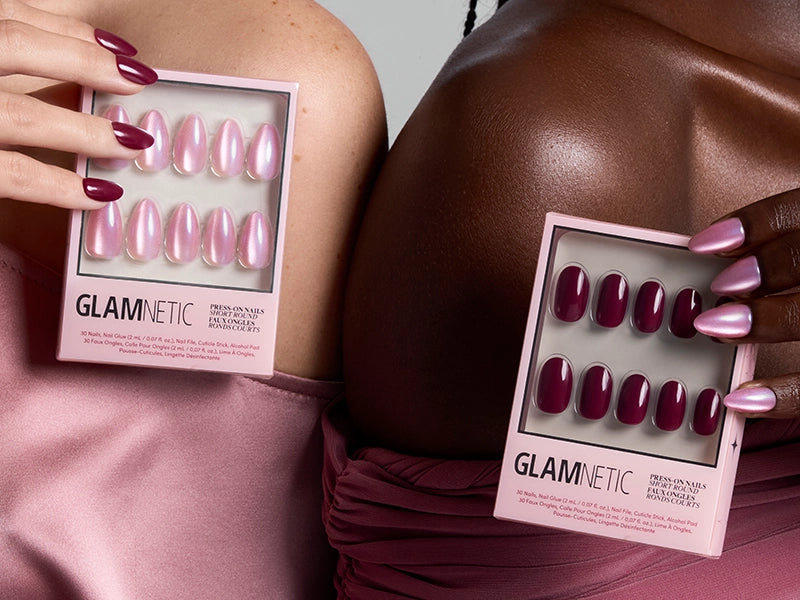
Strawberry Milk
Our Strawberry Milk nails are so sweet that we know you’ll love them! These nails boast a pink-nude base and pink cow print tips. The coffin-shaped nails have a UV coating that reduces chipping and scratching and maximizes the nail’s glossy finish.
Mariposa
These opaque soft lilac nails are simply GORGE! Play between the lilac press-on nails and iridescent purple butterfly-embedded nails.
The Mariposa style has a short coffin shape and a glossy finish. Customize these by filing them into any shape you like.
Double Rainbow
We’ll have you seeing gold with our new Double Rainbow press-on nail set. The matte ombre short coffin shape is perfect for flaunting your digits. Each nail has a different hued tip. Pink, purple, blue, green, and yellow tips diffuse into an ombre nude color.
Lucky for you, these nails will match any outfit. You can customize them by filing each nail into your own almond or round shape.

To Sum It Up
Press-on nails can be customized by filing them down to the size you want them to be. You can also file the sides to get a perfect fit on top of your natural nails.
You can also customize Press-on nails by adding rhinestones or painting nail designs on top of them. You can make each nail different or make them all the same.
It takes just a few minutes to apply Glamnetic press-on nails, and they are more affordable than going to the nail salon. They’re also much easier to apply than painting your nails. Glamnetic press-on nails are so fabulous that you’ll be obsessed just like we are.
♡SUBSCRIBE BELOW FOR 15% OFF YOUR GLAMNETIC PURCHASE!♡
Sources:
Cuticle: What Is It, Care, Removal, Signs of Infection, and More | Healthline
47 Cute Nail Ideas for 2021: Best Nail Designs | Glamour
Structure of the nails - InformedHealth.org - NCBI Bookshelf | NCBI
How to do easy nail art: Video guide using dotting tool | Cosmopolitan


