


Gel Nails at Home: Your Guide
Gel nails are longer lasting than a traditional mani. With the right tools, a somewhat steady hand, and a little patience, they’re very doable at home.
Yes, you heard us right. There are a few special items you will need, but after that, game on!
Gel Vs. Lacquer
Ok, so there are two main differences between gel and regular everyday nail polish.
Let’s weigh the differences:
1. Gel nails are more durable than regular nail polished digits, lasting two to three weeks if you play your cards right. Nail polish can chip after just a few days, or dare we say… sometimes on the same day that you paint them (Insert shrieks of terror).
2. Gel nails require either an LED or UV lamp to cure (set/dry) the gel polish. The curing usually takes around 30 seconds per coat of gel.
Regular everyday nail polish dries on its own, requiring no more than the air we breathe, and time, of course. It can take several long, grueling minutes to completely dry.
3. The gel is thicker than regular nail polish and is more time-consuming and difficult to remove.
If you haven’t shied away yet, then a gel manicure just may be in your future.
UV vs. LED
The most important tool you will need to create your perfect gel nails is the curing lamp.
The type of lamp you choose determines the type of gel polish you will need.
There are two types of lamps:
- LED: LED lamps cure the gel polish much faster than a UV lamp. Gel polish will have to be LED-specific if you are using an LED lamp. This means that you cannot use a UV gel polish with an LED lamp because the lamp will not cure the gel. LED lamps typically cost more than UV lamps.
- UV: UV lamps cure most gel polishes whether they are UV or LED, but curing takes double the time in comparison to LED. Replacement bulbs for UV lamps are generally less expensive.

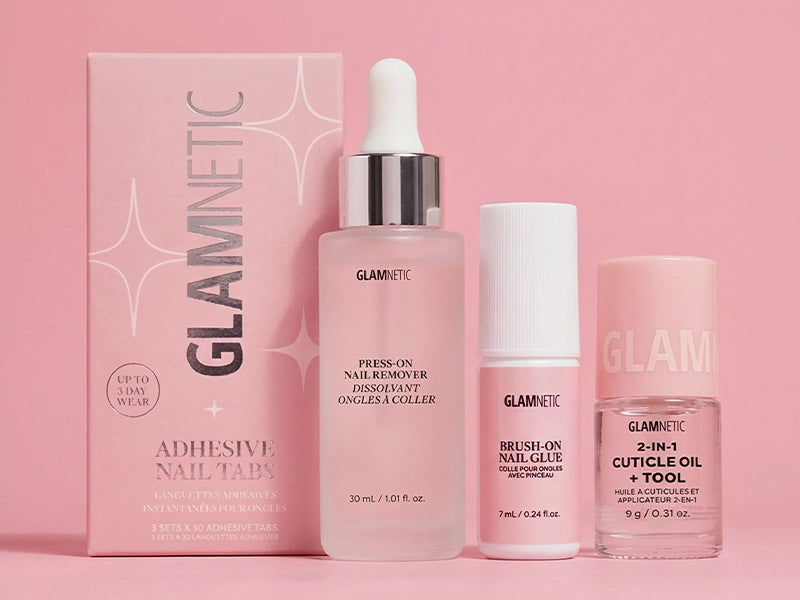
The Nail Goods
Once you’ve chosen your lamp, there are a few more items you will need.
- Gel polish—Make sure your polish is compatible with the type of lamp that you have chosen. Most of the time, the gel polish will come in a set with your lamp. If this is the case, then congratulations! You're ready for the next step. If not, read your labels carefully to make sure everything is compatible with each other.
- Base and top coats—Base and topcoats are not optional when doing a gel nail set, and they must be compatible with the lamp and colored gel polish you choose. They give your nails durability and a fabulous high-shine glossy finish.
- Cuticle oil and wooden cuticle stick—Cuticle oil provides a moisturized, healthy gleam to both your cuticles and nails. Oil adds an extra touch of opulence to your digits. The wooden cuticle stick helps you to easily push back your cuticles, creating the illusion of longer nails.
- Nail buffer and crystal nail file—A nail buffer will help roughen up the nail bed and prep for a nice, strong gel hold.
The crystal file (yes, it sounds super-luxe) will create a nice, smooth sealed edge on your natural nails. Crystal (glass) nail files are sturdy tempered pieces of glass. Despite being glass, they are much more gentle on your nails than emery boards.
- Disposable alcohol wipes—These will be used in one of the final steps of your mani if required.

Ready-Set-Go: Manicure Time
Set all of your supplies out so that you can reach them easily. Make sure to have a few paper towels handy in case of an accidental spill.
1. Trim and File Your Nails
Trim your nails to the length you want them and file them using your crystal nail file.
2. Apply Cuticle Oil
Apply cuticle oil to your cuticles and gently push the cuticles back with your wooden cuticle stick. This will give the illusion of longer-looking nails, plus it makes your nails look clean and svelte.
3. Buff
Buff the natural shine off of the top of your nails with the nail buffer. This will provide a slightly roughened texture for the base coat to grab onto.
4. Wash Your Hands
Wash your hands with soap and water. Dry your hands and then wipe each nail with an alcohol wipe to remove any oils that may still be lingering on your nails. You want a nice gel grip, so removing the oil from the nail is important.
5. Apply the Base Coat
Make sure the base coat is applied in a nice even layer all over the nail bed. This is your foundation, so don’t skimp on this step. Place your hand into the lamp and cure for the designated time your lamp requires. Lamp time is usually 30 seconds per hand, per gel coat. After one hand is done, go ahead and place your other hand in the lamp and cure that one.
6. Paint Your Nails With the Gel Color
Remember that you will be applying several thin coats, so don’t clump it all on in one shot. Apply a thin layer, cure, repeat. Be careful not to let the gel get too thick at the cuticle. This could cause your gel to peel later. Repeat until you reach the depth of color you want. After the last coat has cured, you’re ready for the next step.
Note: If you want to create multi-colored designs, now is the time to do it. Just remember, you must cure each layer as it is applied. You will treat any design as you would a layer of polish, painting onto dry polish, and sealing with a topcoat.
7. Apply the Topcoat
This step is also critical. Cure the topcoat according to the time directed in your lamp’s instruction manual, again, usually 30 seconds. If your topcoat clearly states, “No Wipe,” then you’re finished with this step. If your topcoat doesn’t, then wipe the tacky residue off the top of your nails with an alcohol wipe. Make sure you have cured this layer before wiping.
8. Add More Cuticle Oil
Show your digits some love by applying cuticle oil. They’ve been through a long process and deserve the extra pampering.
When you are ready to remove the gel, follow best practices for removing gel nails. Never peel the gel because this can also peel off the top layer of your natural nail.

The Gel to be Jelly Over
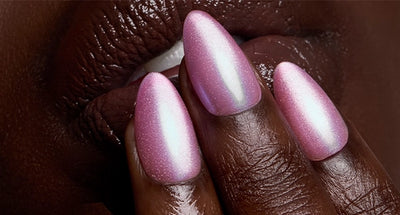
Voila! You have officially created a super fire gel mani. Now that you have the tricks of the trade right at your fingertips, you can create this look anytime. There are so many trendy designs you can experiment with as well.
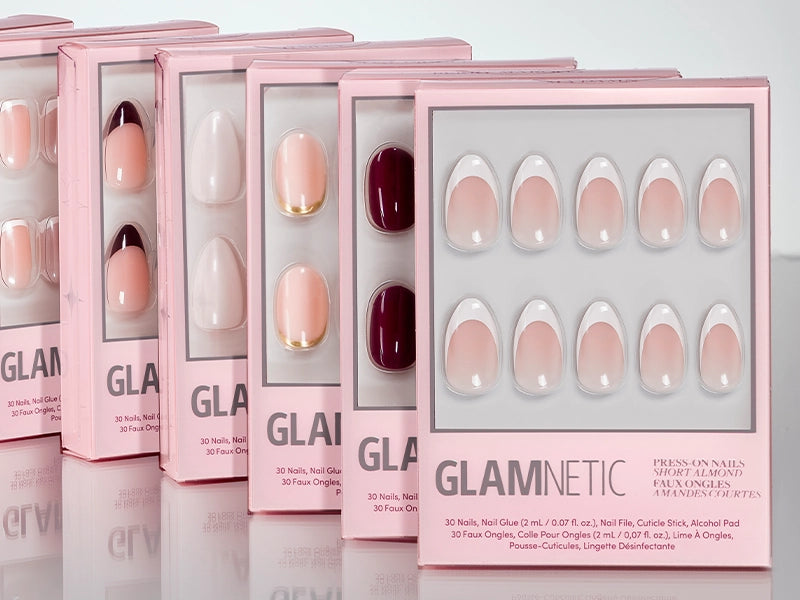
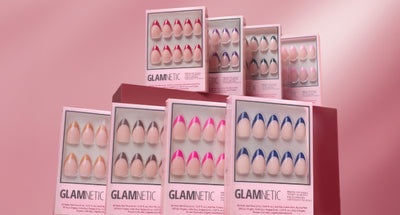
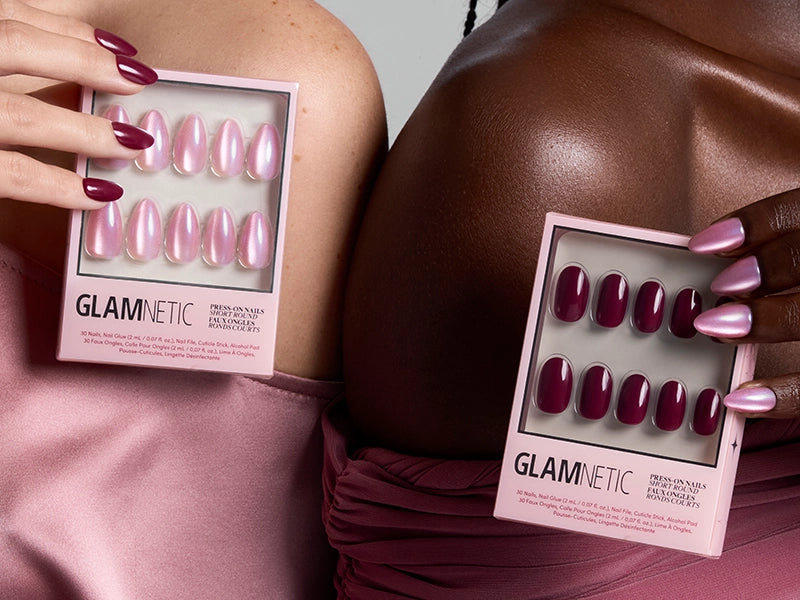
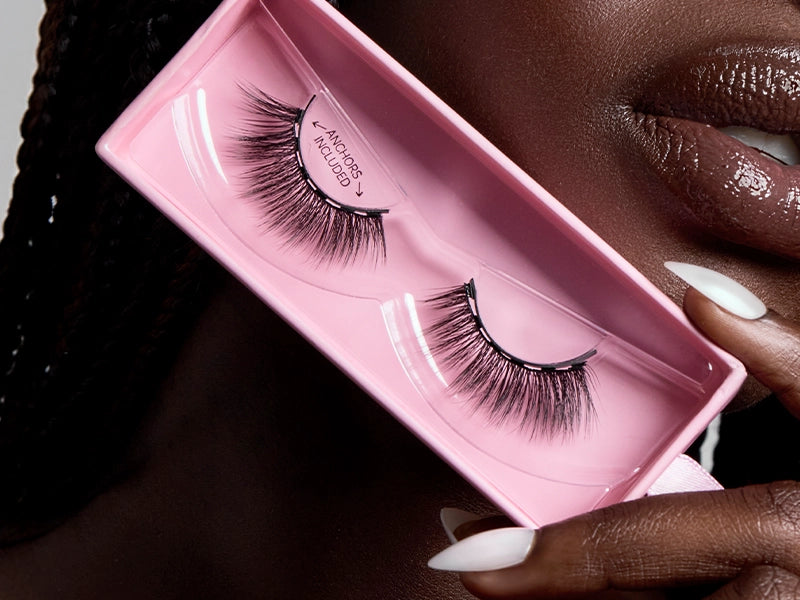
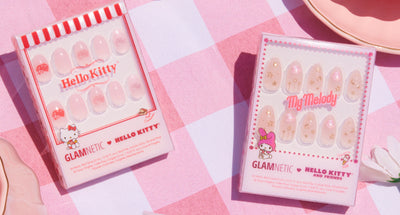
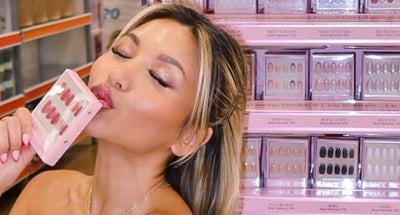
If you want to look fab in a flash and don’t have time to apply gel, you can always reach for our Glamnetic press-on nails. They come in so many trendsetting designs and are super affordable. Not sure which shape or length to wear? Take the nail quiz to find out which press-ons are perfect for you.
Whatever style you choose, remember to have fun and follow gel or press-on nail packaging instructions.
TT4N!
Sources:
The Difference Between UV and LED Nail Dryers | Milady Pro
Is a UV Lamp or a LED Lamp Better… | Salons Direct
Best Practices Definition | Investopedia
Is Picking Off Gel Polish Really Bad For Nails? | Refinery 29


