


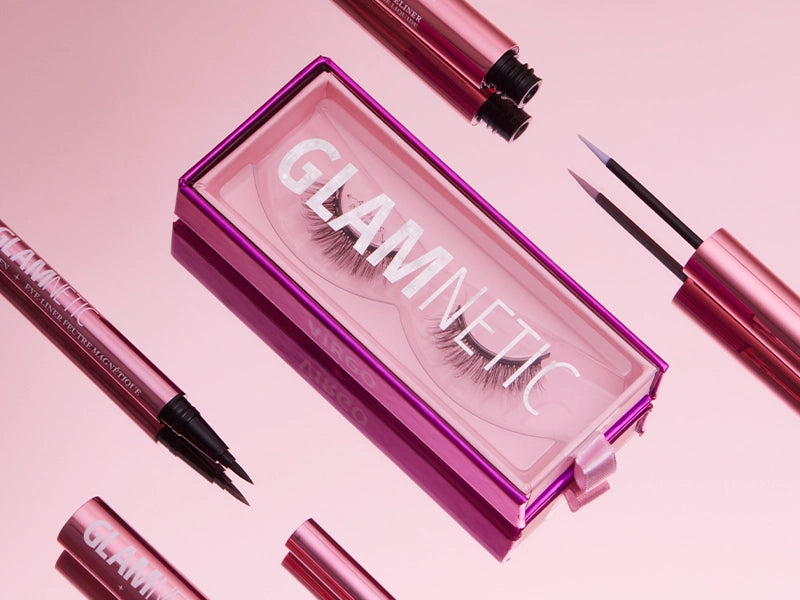


How To Apply Magnetic Lashes
If you know anything about where the beauty sphere is going right now, you’ve probably wondered how to use magnetic lashes. Believe it or not, it’s much easier than you think.
Before we talk about application, have you chosen your ideal lash style yet? We are so excited about the selection of glam-worthy mink and vegan lashes we have to offer you. Take our Lash Quiz to decide which style is your perfect match. From everyday wear to the most Insta-worthy lashes, we’ve got ya covered!
Get ready to strike a pose! Glamnetic Magnetic Lashes are simple to apply. Just follow this easy step-by-step guide on how to create the fabulous lash look you’ve always wanted.
Perform A Swatch Test
Before getting started, it’s important to perform a swatch test. A swatch test ensures that the magnetic liner works well with your skin and that you’re not going to have any kind of reaction. Believe it or not, this is something you should be doing with any and all new makeup products that you try.
Swipe a thin layer of the magnetic liner onto the back of your hand. Wait a few minutes for it to dry. If no allergic irritation or itching occurs after a few hours, then it is safe to proceed with the lash application process.
The formula used in Glamnetic Magnetic Liner and our lashes contain the same common ingredients you’d find in your regular makeup and skincare products. Our lashes are paraben-free, latex-free, and with proper care, are reusable up to 60 times. Our formula is tested for safety and is cruelty-free. Plus, if you’re worried because you have sensitive skin, just take a peek at our ingredients list—we’re here to tell all.
Quick Tips Before You Begin Application
Pro Tip: For those with thin, shorter lashes, curl your lashes and apply mascara before using the magnetic liner and applying the falsies, especially if you will be using lash anchors. If you have long lashes, see below.
- Be creative. You have the option to either apply the magnetic eyeliner alone or on top of your regular eyeliner. It’s up to you!
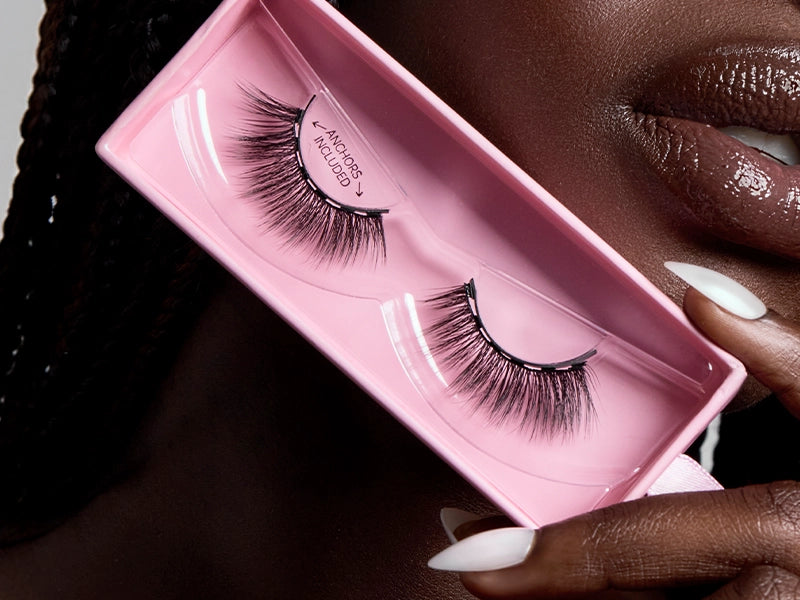
- Carefully inspect the band of your new lashes. You’ll notice that there are six magnets located on the band. Make sure that the line of magnetic eyeliner you’re about to apply is as wide or wider than these magnets. This will ensure a secure magnetic base for the lashes to cling to.
- If you already have naturally long lashes, you don’t need to apply mascara before applying the magnetic eyeliner. Long lashes have a tendency to interfere with liner application. Simply hold your natural lashes down and out of the way while applying the liner, if needed.
- Don’t apply mascara directly to your falsies. Your best bet for keeping your lashes as long as possible is to keep them clean, so keep the mascara for your natural lashes!
- Your new Glamnetic lashes will connect to wherever the liner is placed, so remember to apply the magnetic eyeliner close to the upper lash line, just like you would your normal eyeliner.
- Remember to have fun! You’ll be selfie-ready in minutes.
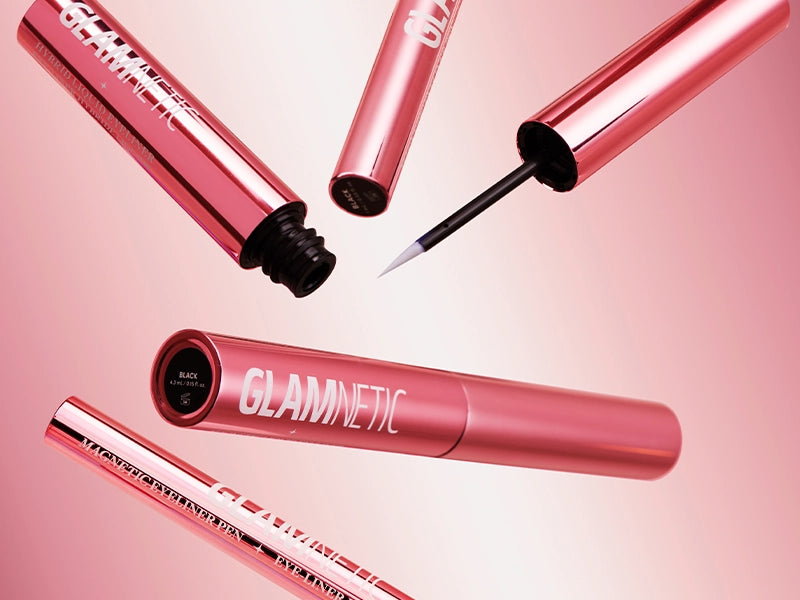
Applying Magnetic Eyeliner
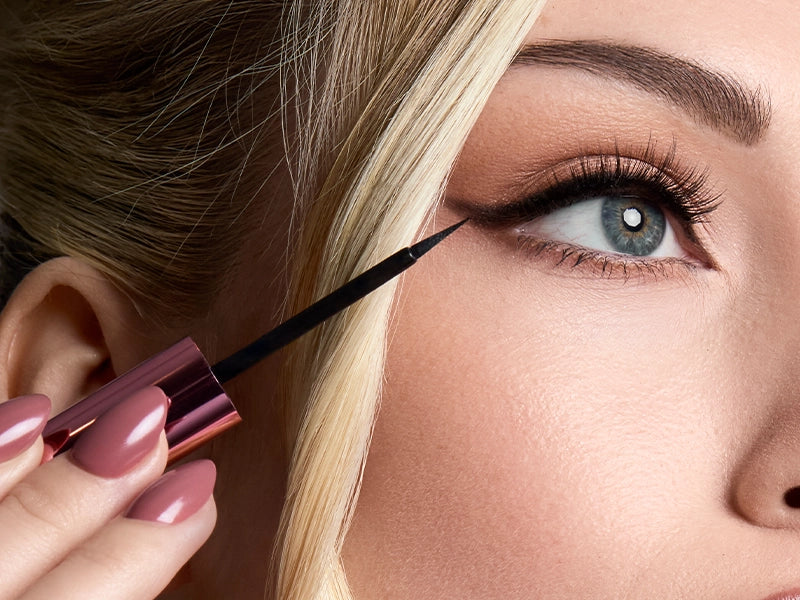
First, gently shake the Glamnetic Magnetic Eyeliner bottle or pen for about ten seconds. This will activate the magnetic liquid liner and prepare it for application.
Ann’s Pro Tip: Prop your pinky finger on your cheekbone and use it as a tripod for a steady hand application.
- Start by applying the magnetic liner tip to the upper inner lash line and slowly drag it across to the outer edge of the eyelash line. Make sure to keep the liner as close to the lash line as possible.
- Work slow and steady at first. As you master this technique, you will become faster with the application process.
- For a more bold look, create a winged effect by sweeping the liner up and slightly out past the outer lash line.
- Once you have created the magnetic line, trace over it a second time to reinforce its durability and fill in any gaps you may have missed. Remember, the lashes need a nice magnetic base to adhere to.
- Allow the liner to dry for around 15 seconds, or 80 percent, before applying the faux lashes. Perform a touch test to make sure it’s ready. It may feel a bit tacky, and that’s ok. If the liner does not transfer to your finger, then you’re ready to apply your new lashes.
Applying Glamnetic Lashes
Pro tip: Place a mirror right below your chin and look down into the mirror while applying lashes. This will give you a more clear view of the lash line you’re working with.
- Carefully remove the lashes from the box and bend them slightly so that they become flexible and can contour to your eye shape more easily.
- Position yourself in front of a mirror.
- Using the lash applicator or your hand, work with one lash strip at a time. Grab the end of the lashes and line them up with the magnetic eyeliner line you just created.
- Make magnetic contact at the inner corner of your eye and attach going across to the outer corner. Make sure your natural lashes are out of the way while connecting the lashes.
- Once the lashes are in place, gently press the ends of the lashes toward the lash line to reinforce the connection and set the lashes.
-
Make sure the eyelash band is securely in place by performing a gentle pull test. The lashes should not budge or disconnect from the magnetic liner.
Voila—your glam look is complete!
Optional Application Of Lash Anchors
Glamnetic lashes are created to provide optimal hold when used with our magnetic eyeliner.
If you’re looking for a little extra hold, though, lash anchors add an optional strengthened layer of support. They may be applied individually wherever extra stability is needed. Check out our CEO Ann McFerran’s tutorial on Youtube to see how she applies them.
Glamnetic Lash Anchors are mini magnets delicately designed with high-quality synthetic lash fibers attached. When applied, anchors hug your natural eyelashes between the faux lashes you just applied and your eye, and they can help keep the inner corner from lifting.
- Using a lash applicator or tweezers, grab one anchor cluster by its hair fibers. Make sure that you are holding it with its fibers curving upwards in the direction of your eyelashes.
- Place the anchor’s magnet underneath the faux lash strip magnet of your choice, based on where support is needed.
- Gently press the anchor into the lash line to ensure magnetic adhesion.
- Repeat steps one through three using additional anchors where needed to serve as extra reinforcement. You may use as many or as few anchors as you desire.
Anchors are intended to blend seamlessly for a flawless glam lash look. Be sure to check both eyes for symmetry, too. Just remember that it’s ok if they’re sisters and not twins.
Get Your Lash Look On
That’s it! You’re ready to bat those fluttery new lashes.
Whether you need an everyday put-together look or want an extra posh vibe for a night out on the town, Glamnetic Magnetic Lashes have a lash for that!
Sources:
Magnetism | National Geographic
What Are Parabens? | Uses, Benefits, and Chemical Safety Facts | Chemicalsafetyfacts.org
Sensitive Skin: Causes, Symptoms, Triggers and Treatment — Expert Tips | Allure


