






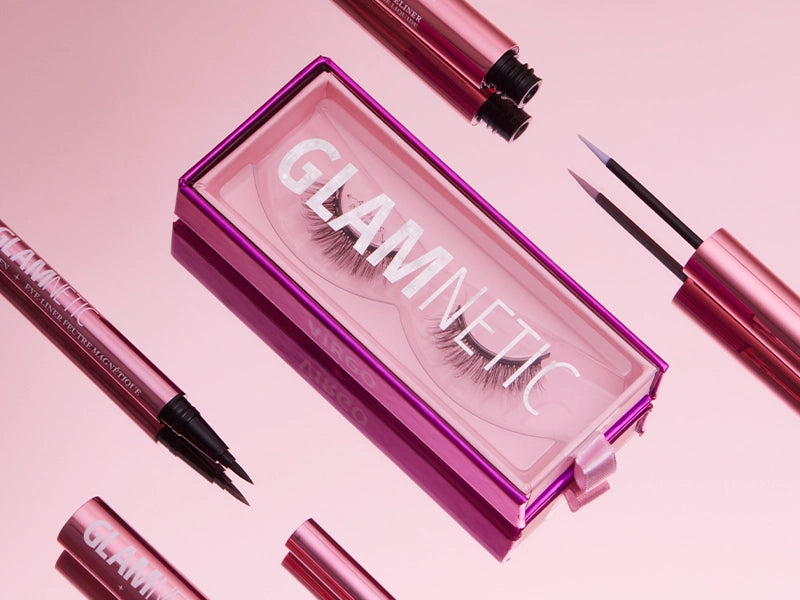














Before applying your magnetic lashes, make sure your natural lashes are clean and dry. Apply the magnetic eyeliner along your upper lash line, starting at the inner corner and working outward. Be sure to apply the liner thickly enough so it fully covers your lash line and is strong enough to hold the magnetic lashes securely in place.
How to Apply Your Glamnetic Magnetic Lashes
Skip the lash appointment! Save money and precious time with Glamnetic’s easy, hassle-free way to add volume and length to your lashes. No more struggling with messy glue or worrying about lashes that won’t stay put. In this step-by-step guide, we’ll show you how to apply our magnetic lashes and magnetic liner so you can achieve a flawless and natural-looking lash look in no time.
Step 1: Choose the Right Magnetic Lashes and Magnetic Liner

Glamnetic offers a variety of magnetic lash styles to choose from - from cat eye, wispy and round in short/natural lengths to dramatic glam looks! In addition, our magnetic liners come in either a liquid eyeliner formula, or a felt-tip pen liner, with both designed to last all day with any Glamnetic lash.
Step 2: Prep Your Natural Lashes and Apply Magnetic Liner

Step 3: Apply the Magnetic Lashes

Using your fingers or the Glamnetic Lash Grab, gently place the lash strip on top of the magnetic eyeliner. The tiny magnets in the lashes will snap right onto the liner, securing them in place.
Step 4: Adjust and Blend the Magnetic Lashes
Once applied, adjust the magnetic lashes as needed and lightly press to blend them with your natural lashes for a seamless, flawless finish.

Once the magnetic lashes are in place, use your fingers to adjust and blend them with your natural lashes. For extra lift, you can also use an eyelash curler to curl the magnetic lashes if needed.
Pro Tips:
Allow the magnetic eyeliner to dry almost completely before applying the lashes to ensure the strongest hold.
To remove the lashes, gently peel them off from the outer corner toward the inner corner of your eye.
To remove the liner, use an oil-based makeup remover.
That’s it! With our game-changing magnetic lashes and liners, achieving a flawless lash look has never been easier. Whether you’re elevating your 9–5 style or getting ready for a night of dancing, Glamnetic’s magnetic lashes have you covered.


