


How to Do Nail Art at Home

Nail art is all the rage RN. You can have beautifully manicured nails, whether you have a skilled, steady hand or not. These basic, trendy nail art techniques are simple, so it’s easy to achieve the gorgeous digits you crave.
If painting isn’t your thing, then press-ons should be your go-to. Read through these trendy nail art options that you can do at home and decide which one is right for you.
Nail Art Trends
There’s no scarcity of nail art trends right now. Whether you are a minimalist or a bold trendsetter, there’s a mani for you in this year’s popular nail trend collection. Here are a few must-have nail designs for Summer 2021.
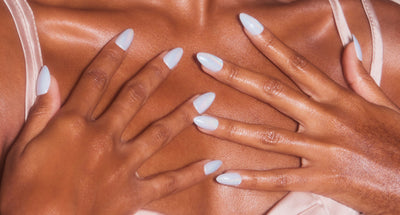
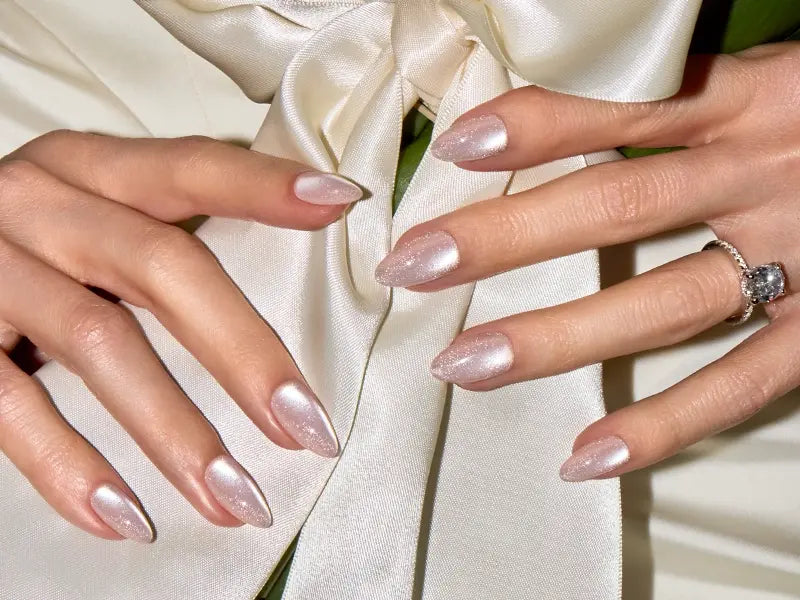
♡ Metallic and Chrome: Shiny, metal colors have it factor in 2021. Any color metallic will do when it comes to this finish.
♡ Animal Prints: From leopard to cow prints, use an array of colors to create these fierce patterns.
♡ Graphic Designs: Color blocking, multi-colored lines, and mismatched nails are all the rage this summer.
♡ Pastels, Dots, Swirls, and Tie Dye: Mixed pastel colors in swirls and polka dots create a dreamy, desirable look.
♡ Thin Tip and Reverse Tip French Mani: Whether it’s a classic white tip or a bright-colored thin tip, you can’t go wrong with a modern French manicure. You can also swap the tip to the base of the nail for a unique look.

How to Prep Your Nails For a Mani
♡ Wash Your Hands and Care for Your Cuticles
Always wash your hands before beginning a mani and press the cuticles back gently with a cuticle stick. Be careful; the cuticle area of the nail is very delicate.
The illusion of a longer nail bed and healthier nails is attained through pushing your cuticles back. This is something you’ll want to do regularly, whether you are painting your nails or applying press-ons.
♡ Trim, File, and Buff Your Nails
The second step in creating the perfect mani is to trim, file, and buff your nails to the desired length. Make sure you round out any rough edges. Buff the top of your nail bed to create a nice base for the polish to adhere to.
After filing and buffing your nails, rub each fingernail with a cotton pad dipped in polish remover. This will remove any oils or dirt that may be lingering on your nail bed.
♡ Apply Your Base Coat
Third, a base coat is always a must. A base coat helps your polish adhere to your nails and provides longer wear. It also helps protect your natural nails from being stained from the color you choose. A base coat is the foundation of any perfect mani.
♡ Finish It All Off With a Top Coat
When you complete your mani, apply a top coat. Top coats provide that glossy finish that makes your mani look pristine. It also seals the polish for a longer wear time.
Now that we have covered the basics, let’s check out some nail art DIY trends that you can do at home.
The Mod Pastel Color Palette
Want cute nails but don’t have the steadiest of hands when it comes to painting? Fear not because the mod nail is easy to create. Just grab three of your favorite color-coordinating shades of pastel polish.
The key here is to choose colors from the same side of the color wheel. This will prevent your colors from clashing and help create that trendy put-together look you’re going for.
Apply two coats of color on each nail. Each fingernail should be painted a different color. It’s ok if a few nails of each hand are the same shade. This is a simple method that yields stunning results.
Color Blocking and Graphic Nails
Graphic nails in random colors are super cute and easy to do at home if you have the right tools. For this technique, you’ll need two to three different colors of nail polish and clear tape. You heard us right: clear tape creates a precise line between colors with little effort. You may also use nail stickers.
♡ Apply two coats of color to each nail and allow them to completely dry. Paint one nail (usually the ring finger) in a different color for a fun twist. Make sure they’re completely dry before you proceed to the next step.
♡ Cut small squares out of the tape and apply one square per nail with one corner facing the bottom of your nail and one corner facing up. Make sure it leaves a v pattern at the end of your nail. The tape must securely adhere. This will ensure that your paint doesn’t bleed into the other color you just painted. If you’re using nail stickers, strategically place your stickers wherever you don’t want your next color to be.
♡ Paint the uncovered part of your nail in the other opposite color you’ve chosen.
♡ Allow the polish to dry completely before removing the tape.
♡ Apply a top coat and allow it to dry.
That’s it! You’ve created a color block nail pattern.
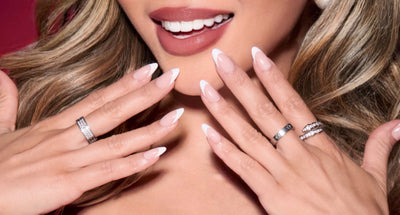
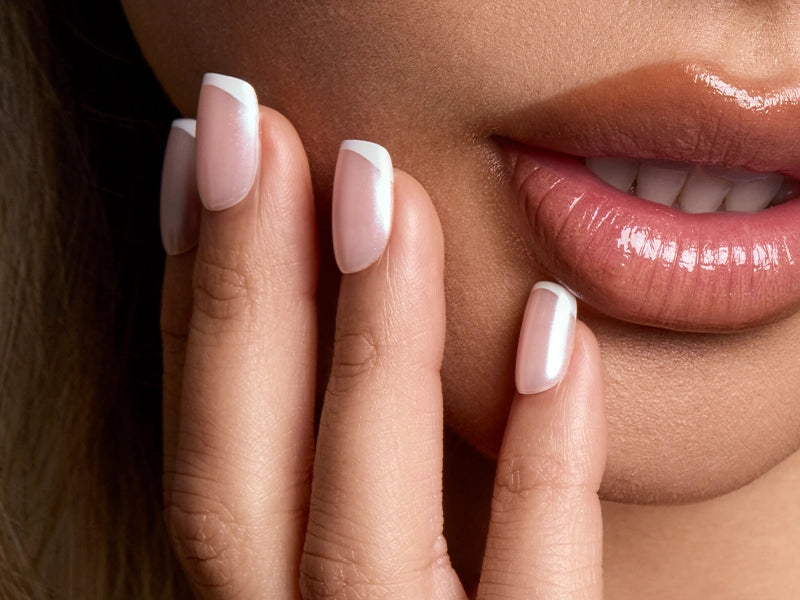
Thin Tip French Mani
You can use clear tape for this nail art or purchase French tip nail guide stickers. French tip guides are pre-cut stickers placed at the tip of your nails as a guide for creating the French tip.
♡ After allowing the base coat to dry, apply two coats of your base color to each nail. Allow this to completely dry so you can apply the sticker to your nail.
♡ Apply a second top coat over your base color. This will protect your color from peeling when you remove the tape.
♡ Apply the tape to the tip of your nail. Leave just a peek of your nail exposed at the tip. This is the area that will be painted in a different color.
♡ After all of your sticker tips are applied, paint each tip in a contrasting color. Bold, bright colors are always fab or go for white for a classic look.
♡ Allow the tip color to completely dry.
♡ Remove the sticker by peeling it off in a quick motion. This helps to avoid creating any smudges.
♡ Complete your artwork with a diamond shine by applying a topcoat.

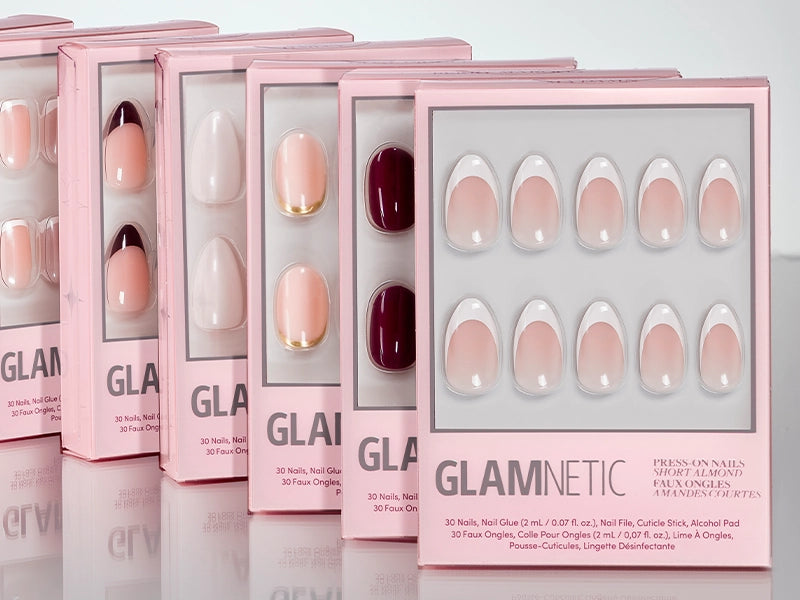
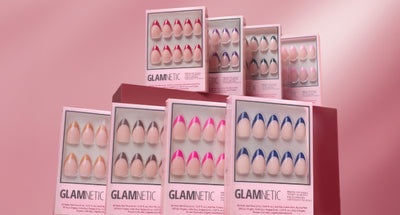
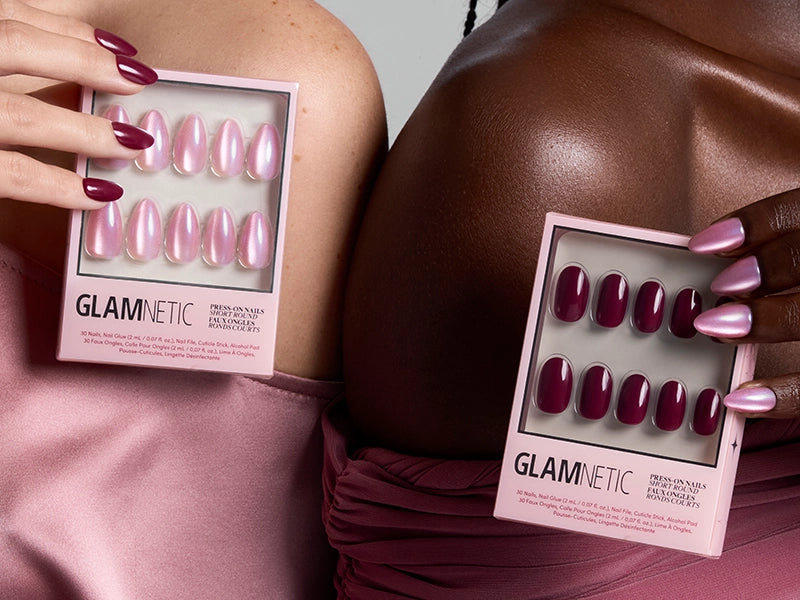
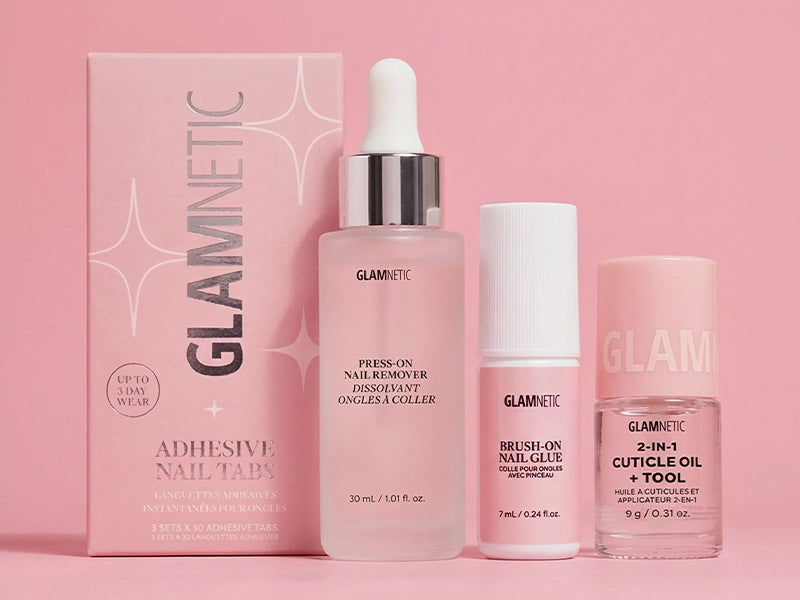
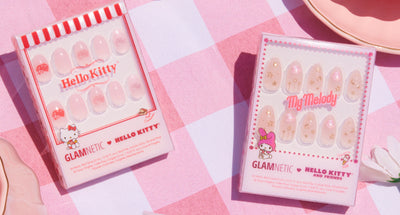
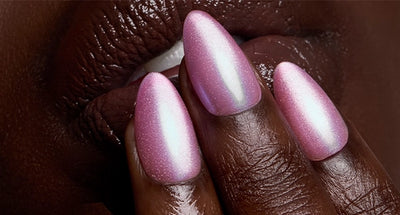
The Modern Press-On Nails
Press-on nails are a popular option if you’re not keen on painted nail art. They’re so trendy that they come in an array of beautiful shapes, colors, and lengths. Plus, they’re easy to use and take only minutes to apply.
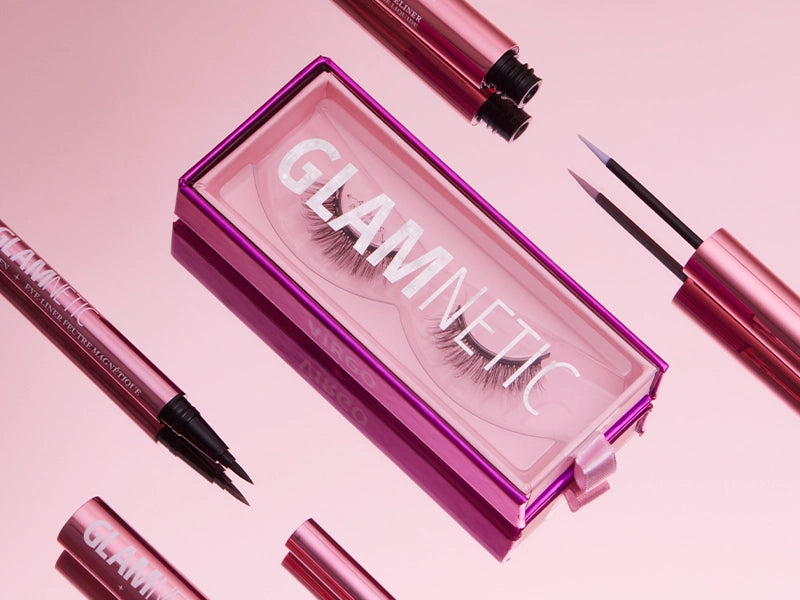
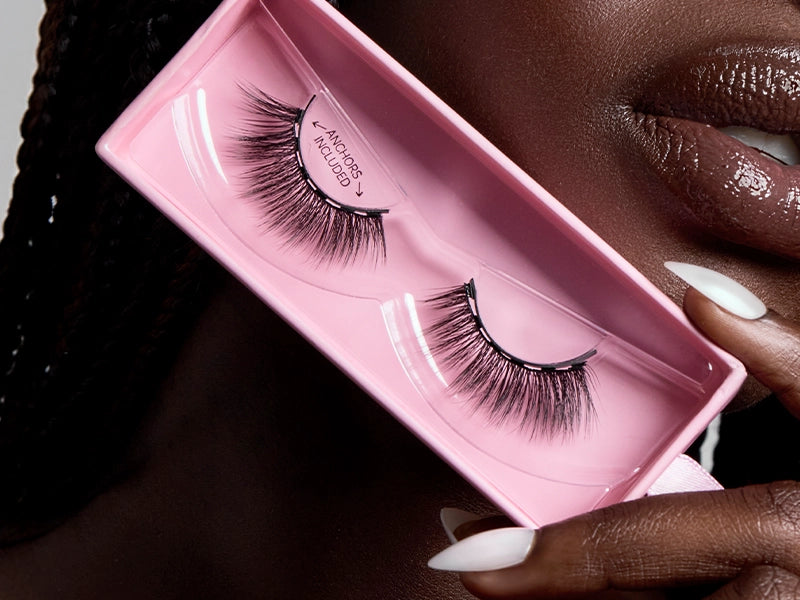
Did you know that Glamnetic offers celebrity-inspired press-on nails in addition to waterproof magnetic lashes?
We have created press-on nails that take only two minutes to apply. They are chip-proof and they last for up to two weeks. Better yet, our nails are also waterproof so you can attend all those summer pool parties in style.
If you are unsure about press-on nails, head on over and take the nail quiz. It will guide you to the perfect fitting nails for your lifestyle.
Whether you create your nail art at home or apply our trendy press-on nails, you always have many trendy options to create the perfect hot girl mani.
♡SUBSCRIBE BELOW FOR 10% OFF YOUR GLAMNETIC PURCHASE!♡
Sources:
Nails: How to Take Care of Your Cuticles | WebMD


