


How To Make Your Press-On Nails Last Longer

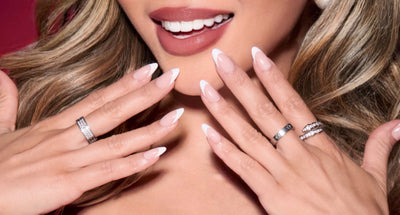
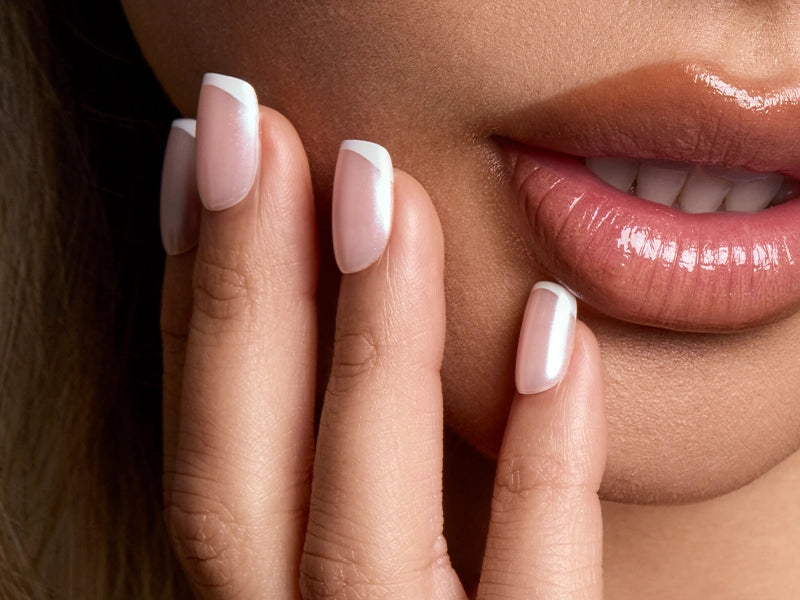
So you've invested in a set of stunning press-on nails—amazing! Now, the next step is making sure your fun new look can last longer. Here are three vital tips to maximize the lifespan of your quick, flawless at-home mani.

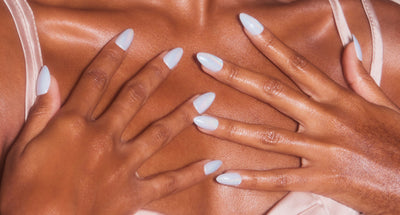
Proper Prep
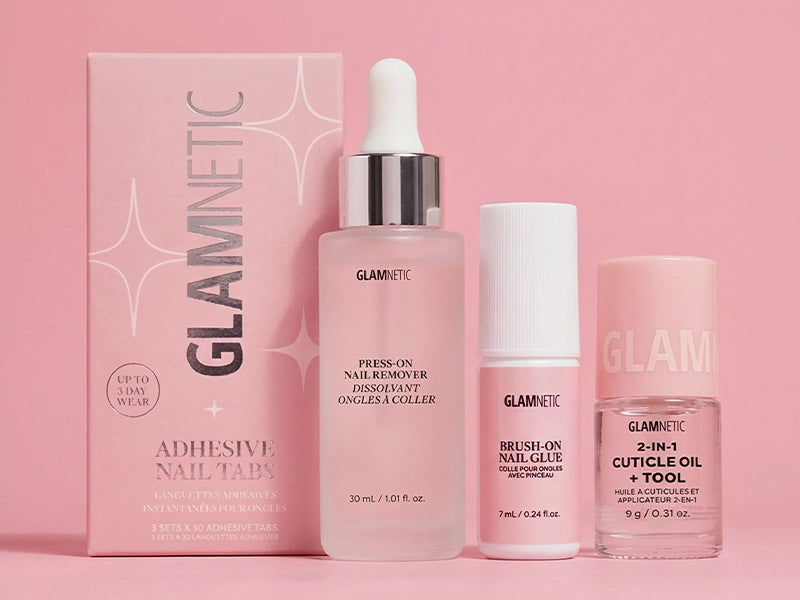
The secret to long-lasting press-on nails begins with preparation. Start by removing any previous nail polish and washing your hands thoroughly. Once clean, dry your nails completely. If you have oily nails, go a step further and wipe them down with an alcohol pad. This removes oils and residue, providing a clean canvas for your press-ons to adhere to. This extra step can make a world of difference in how long they’ll last longer!
Get the Glue Right

Don’t skimp on the glue! While it may be tempting to go easy on it to avoid messiness, a sparse amount won't provide the durability you need to last longer. Apply a generous dollop of Brush-On Nail Glue to both your natural nail and the press-on nail. Once applied, press down firmly for about 5-10 seconds to create a strong bond. The extra time and glue are worth the long-lasting results.
Bonus Tip: Always keep some extra nail glue in your purse for emergencies!
Press Pause on Water and Heavy Lifting
Once you've applied your press-on nails, avoid water for at least 45 minutes. Water can weaken the new adhesive bond. Additionally, you’ll want to stay away from heavy lifting or high-impact activities that could chip or dislodge your nails. This 'settling in' period ensures that the glue has ample time to bond with your natural nails.
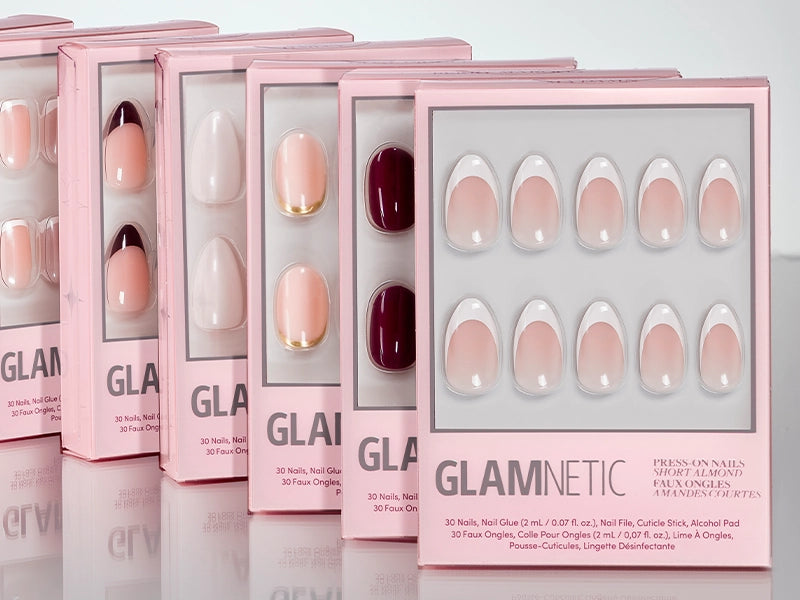
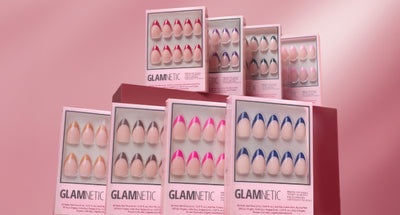
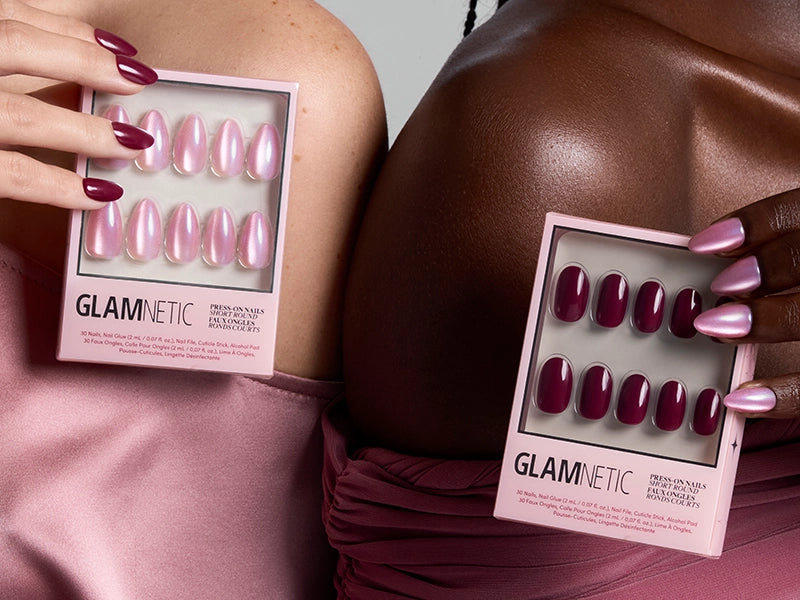
By following these extended tips and tricks, you'll not only enhance the beauty of your hands but also get the most out of your investment in press-on nails. Check out Glamnetic's collection of trendy, ultra-durable press-on nails to start your journey towards a longer-lasting, flawless at-home manicure!
We Think You’ll Love:


Shop Brush-On Nail Glue


