


How to Put on Fake Eyelashes
Maybe you were younger when you first noticed, or maybe you have just had your interest piqued now, but it is always a revolutionary moment in any makeup lover’s life when they discover there is a product that can take away all the messy pain of mascara. The maintenance of mascara can be atrocious—especially if you’re in any version of a sticky, sweaty, warm, or emotional situation. Who hasn’t wiped off black tears after a rough night out?
False lashes, known to cosmetics fans as falsies, are the perfect alternative. They’re effortless to pop on, and they save time and money because most of them can be reused! No more tubes upon tubes of product in your trash can.
However, maneuvering an adhesive or figuring out how to stick a magnetic band to magnetic eyeliner (the future is here, people!) can be a bit daunting without any direction. Fear not; Glamnetic is here to help. Here are our best tips and tricks for getting that dramatic and flawless fake lash look.
Traditional Lashes
The lash strips that you’ll find at the cosmetic aisle in your local drugstore need some type of adhesive to bind the product to your eyelid. In most cases, this is lash glue, which can come with its own set of problems. Not all products have the same consistency or are hypoallergenic, so make sure that you do ample research concerning their formulas before placing anything that close to your lash line!
Other tools that you will need for application are a pair of tweezers with a fine tip (or a lash applicator) and a good grip (the last thing we need is any slippage around your eyes), and, of course, your false lash strips.
Before you start, make sure that you’ve put on your eyeshadow and used your eyelash curler. Once you’re good to go, start by trimming them to size with a pair of scissors if necessary. Put just a bit of the lash adhesive on the band and let it dry for 30 seconds until it is flexible but not too easily smudged.
Pro tip: When using lash glue, remember to never squeeze the glue directly from the tube onto the lash, as you might have a bit of an explosion. Instead, use a cotton swab or even a toothpick to apply the glue onto the eyelash strip so that you get the exact right amount.
Look down, not straight, at your mirror and line the band up to your natural lash line directly. Press and hold for a few seconds, and you’re all set! Just remember that patience is key when you’re waiting for them to dry.
You can use eyeliner to blend the band of the lashes into your look, and liquid liner or gel liner applied with an angled brush is a great option for a purposefully thick look. You’ll be feeling like a makeup artist in no time.
Applying Magnetic Eyelashes
If you’re looking into magnetic eyelashes like ours, there are a few deviations from the regular routine.
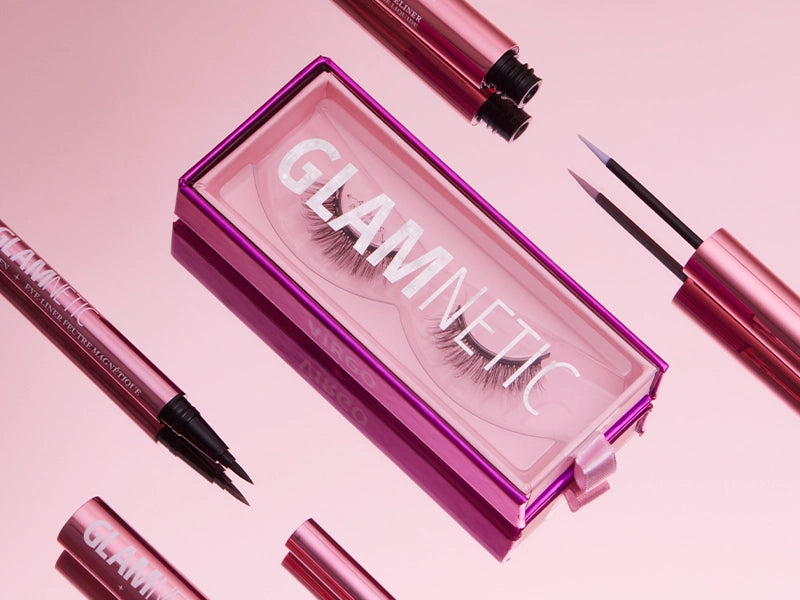
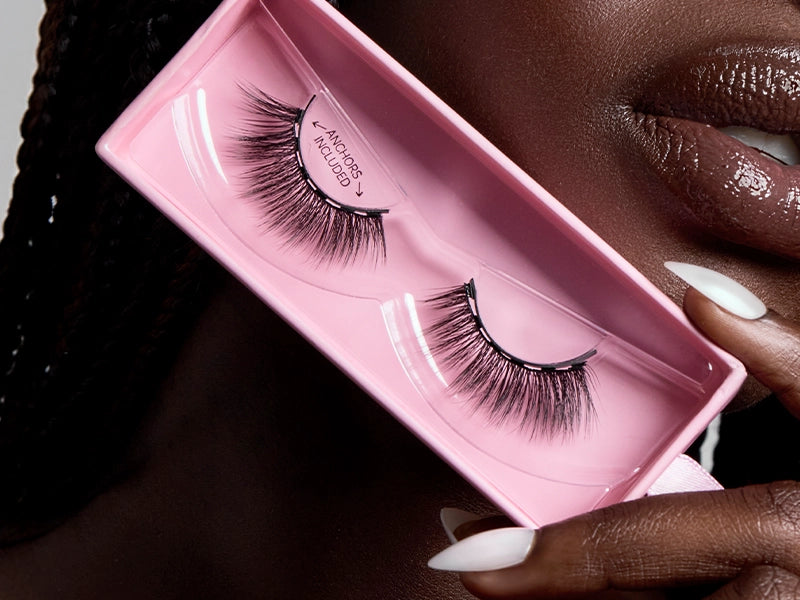
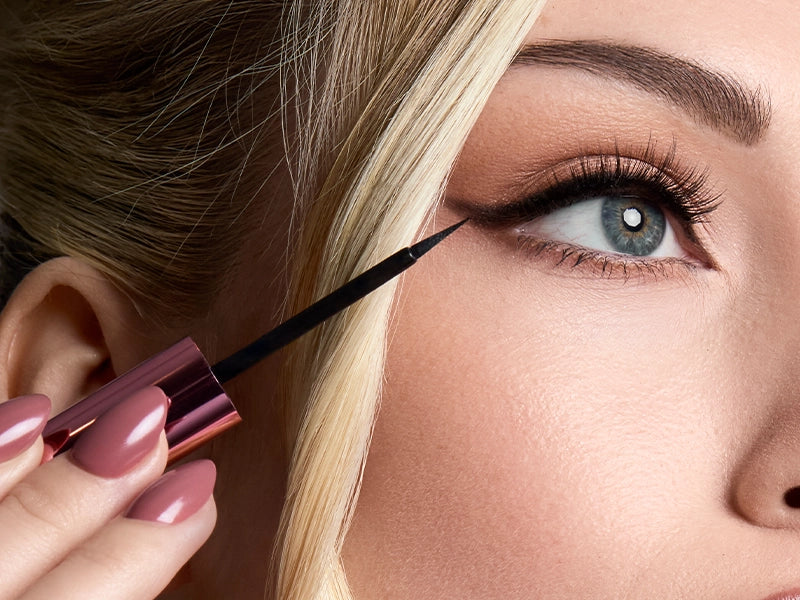
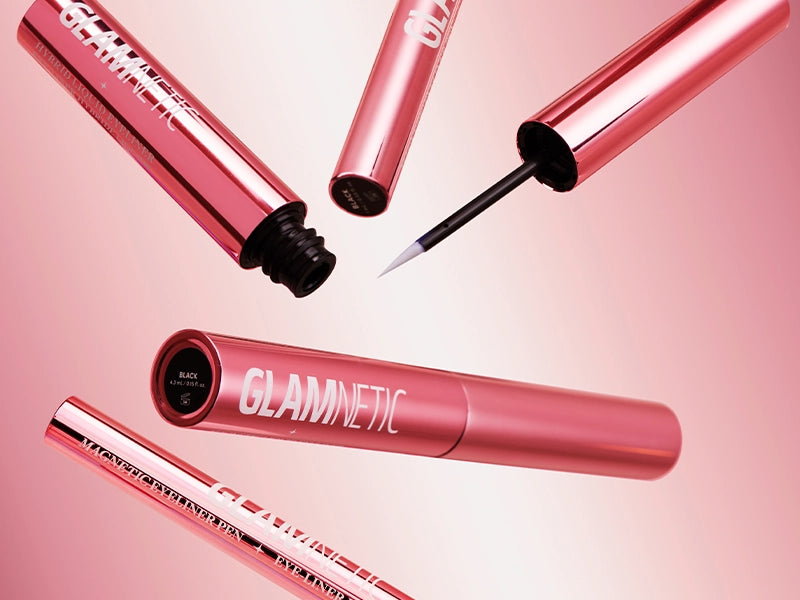
A Glamnetic lash set is paired with our magnetic liquid eyeliner. Before each use, spend a few seconds shaking your bottle of liner. If you’re cutting down your false eyelash strips, make sure you also snip the band that contains the magnets for a smooth application.
The liner should be as thick as the magnetic lash band for a perfect match. Coat the lash line from the inner corner to the outer as fully as possible, so the entire lash connects. It’s possible to incorporate some regular eyeliner looks with the magnetic product, including wings or cat eyes. Twenty to 60 seconds is long enough to wait for applying your lashes.
Hold them in the middle of the band, align with your liner, and gently press them into the outer corners of the eyes. Repeat with the inner corner. Putting your lashes roughly a single centimeter from the inner corner of your eye can help to avoid any pesky poking throughout the day.
Play Matchmaker With Your Lashes
There is no reason to settle when it comes to makeup, especially when we are lucky enough to live in a day and age where companies are trying to be inclusive of all features. With that being said, it is super important that you first figure out what eye shape you have and refer to it as a guide for choosing the shape of your false lashes. No need to compromise, but we want to enhance your best points!
To determine what your eye shape is, look in the mirror. How much of your iris is visible, and how much clearly dips below your eyelid on all sides? Do your eyes slant up on the outer edge? How far apart are they? Do you have a noticeable crease, or is it nowhere to be found? What about eyelid space?
After you’ve established where your eyes fall, here are some of the best lashes for a few types:
Round Eyes
Eyes that fall in this category have most, if not all, of their iris visible. Lashes best fit here when they’re curled upwards because they bring your top lid up to the onlooker. Heavy lashes can weigh down your look and hinder how big and bright your eyes are naturally.
Monolid Eyes
This eye shape has skin that comes up and over the upper eyelid, entirely covering the crease. You want to emphasize your upper lash line with this shape, so pack on the top lashes! You can also go in with individual lashes for a light look.
Close-Set Eyes
When you place a voluminous set of lashes on eyes that are less than an eye width apart, you can run into a cramped effect. To avoid the traffic jam, grab some individual lashes or cut down the set you have.
Hooded Eyes
Eyes that are this shape have a crease that blends into the brow bone and an eyelid that almost entirely disappears when your eyes are open. Heavy lashes on the top lid physically pull your lid down even farther, so wispy and sparse lashes placed directly over the pupil help to center the focus on your beautiful irises and not what’s missing.
We offer a free Lash Quiz to find your best fit on our website! We go through most of the guiding questions outlined above, but make sure to also ask what your style preference is—work or club? That way, you know that you’re getting a lash you’ll be sure to wear.
Satisfied Safety With Magnetic Lashes
There’s no reason to fear magnetic falsies, but in case you are concerned about putting this semi-new trend near your face, we’re here to ease the worry.
Your main concern should be sanitation, as with all makeup. Replace your magnetic liner every three months to avoid bacteria buildup, and make sure when you apply it to your lash line, you’re not blocking your eyelid’s oil gland. That’s how sties are made! Steady hands are best to avoid poking and prodding into your eye.
Magnetic lashes are safer than traditional ones because you aren’t putting any heavy adhesives on your skin. Be gentle when you take off your lashes to avoid pulling hairs out at the follicle. Some contain iron oxide, which is FDA-approved, but a swatch test can help weed out any possible allergies.
Cleaning
After every wear, use an eye makeup remover to get off any liner if you choose magnetic lashes. Our lashes are reusable for up to 60 wears, so they should be cleaned with makeup remover to ensure that there’s no liner buildup. Storage is best in a tight container that is dry.
Summary
With so many options and such accessibility, there really is no reason not to try adding some false lashes to your look! The best part of falsies is that they are noticeable enough for compliments yet can be subdued in the workplace or formal settings.
That’s why our line is so versatile. Our Round line ranges from 8mm short and flirty lashes to 17mm dramatic sets. We have a Wispy line with lengths that range from 2mm to 18mm, a Cateye line for short to longer looks, and a Colored E-Series in purples and greens. Check them out!
Sources:
How to Apply False Eyelashes: Step-by-Step Guide With Photos | Allure
8 Best False Eyelashes for All Eye Shapes - Fake Lashes for You | ELLE
Is Magnetic Eyeliner Safe to Use on Your Eyes and Face? | Healthline


