


How to Get Acrylic Nails Off

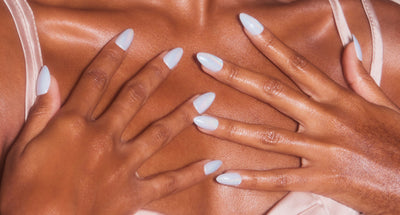
Acrylic nails last longer than most other faux nail types, plus they can be designed with all sorts of bling and cute patterns. That being said, you obviously want them to last for as long as they possibly can.
Unfortunately, there comes a time when they grow out or one of them pops off, and you’re stuck with the dilemma. Do you go back to the nail salon to replace the broken nail, get a refill, or do you remove them completely?
Let’s be real. The best way to remove acrylic nails is by going to a nail salon. It may not always be possible for you to get there when you’re out there living your busy life (which is why we love press-on nails, but that’s another story). Let’s take a peek at how you can safely remove acrylic nails at home without damaging your own natural nails.
What Are Acrylic Nails?
Acrylic nails are usually put on at a nail salon. Unless you’re lucky enough to have long nails already, a nail tip is glued to the edge of your own natural nail during the process. They are usually cut down to the length you want, and a layer of acrylic is painted over the nail extension and the bed of your own nail. This is called an acrylic overlay.
Acrylic powder is mixed with a liquid monomer, which creates a chemical reaction called polymerization. Sure, it’s a bunch of science talk, but basically, the powder and liquid are mixed together. The mix is painted onto your nails, and then it dries really hard. Like, diamond-hard.
Acrylic nails can be painted in any color and can have bling or charms applied to them. To get an idea, look at Cardi B’s nails for inspiration.
What About Acrylic Fills?
Acrylic nails usually last about two weeks before you need a refill. A refill is applied to the part of your nail where it has grown back in.
If you need to remove your acrylic nails, it can be tough, not to mention painful, if you don’t know what you’re doing. Ideally, you’ll want to visit the nail salon to have them removed, but if this isn’t possible, follow these steps on how to get acrylic nails off.
Tools You’ll Need to Remove Acrylic Nails At-Home
There are a few different ways to remove your acrylic nails at home. This is one of the easiest ways to remove acrylic from your nails.
You’ll need a few items to get the job done.
- Nail clippers
- Nail file
- Nail buffer
- 100% Pure acetone
- Foil
- Cotton balls
- Cuticle stick
- Cuticle oil

How to Remove Acrylic Nails At Home With Acetone
Before you get going, make sure you’ve carved out at least an hour of free time to remove your acrylic nails. It takes a bit of patience, so turn on your favorite Netflix show and get comfortable.
Follow these steps to remove your acrylic nails.
Trim Your Nails
You’ll be losing a lot of length when removing your acrylic nails, so you can get ahead of the process here. By shortening the length of your nails, it will allow for easier acrylic removal.
Carefully clip the length of the nail away with your nail clippers. Trim them short, about two centimeters from your nail bed. This will get them down to around your natural length without becoming too short.
File And Buff Your Nails
A nail salon would break out the drill at this point and start buffing away the top layer of the nail. We’re pretty sure that you don’t have a nail drill at home, so grab your nail file instead.
If you have regular nail polish on, remove it now. If you have gel polish, use your nail file to roughen up the top layer of the nail bed. Try to remove all of the color and shiny parts. By doing this, you are thinning out the top layer of acrylic, which will make it easier for the acetone to penetrate and break it down for removal. The more acrylic you file off, the less soak time you’ll have to endure.
Soak Your Acrylic Nails in Acetone
Soaking acrylic nails in acetone softens the acrylic and makes it easier to scrape off and remove completely. This soaking method is similar to the way you’d remove gel nails.
First, make sure to protect your work area with a towel. Acetone can be damaging to furniture and other workspaces.
- Work with one hand at a time. It will be easier this way; trust us. Soak each cotton ball thoroughly in 100% acetone. Don’t squeeze it to remove excess.
- Apply the cotton ball to the top of your nail.
- Wrap the cotton ball and your fingertip in a small piece of foil and squeeze it tight. Some acetone may drip out, so be aware—but that just means you put enough acetone on your cotton balls!
- Continue wrapping each nail in the acetone-soaked cotton balls and foil.
- Once all of your nails are covered in foil, allow them to soak for a minimum of 10 minutes. To speed things up, apply a warm towel to the tops of your foil-wrapped fingertips while you wait. Warm acetone penetrates more quickly.
After your nails have soaked for ten minutes, remove the foil from one nail and check to make sure the acrylic has lifted off of the nail. The acrylic should look like it can easily be scraped off of your nail. If it doesn’t look ready, soak your nails for a few more minutes.
Scrape Off The Acrylic
After your nails have soaked, remove the foil wrappers and grab your cuticle stick. Your natural nails are very soft and delicate at this point, so make sure you complete this next step very carefully.
Using your cuticle stick, gently push the softened acrylic off of your nails. The acrylic should scrape off easily. If it doesn’t want to budge in some places, re-soak them in the acetone wrap.
File, Buff, And Shape Your Nails
Use a fine-grit nail file and gently file your nails to the shape you want them. Use the nail buffer to buff the top part of your nail and smooth out any rough spots. Your nails should be smooth and shaped without any acrylic residue remaining.
Hydrate Your Nails
Your nails will be super dry when you complete this process, so it’s important not to skip this step.
Apply cuticle oil to your cuticles and nail beds and apply hand cream to your hands. The goal here is to hydrate your nails, fingers, and hands.
For extra nail power, you may want to apply a nail strengthener to help re-build your nails after the process they’ve been through.

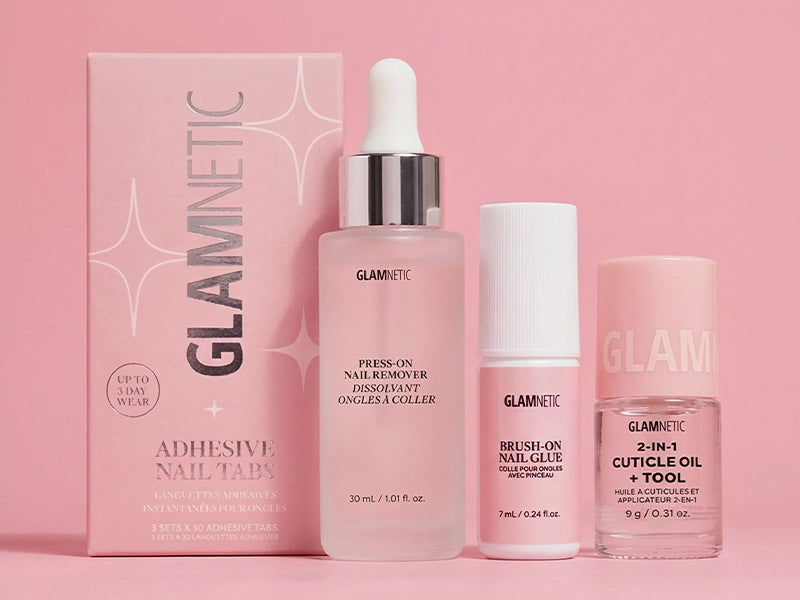
If You’re Sick of Acrylics...
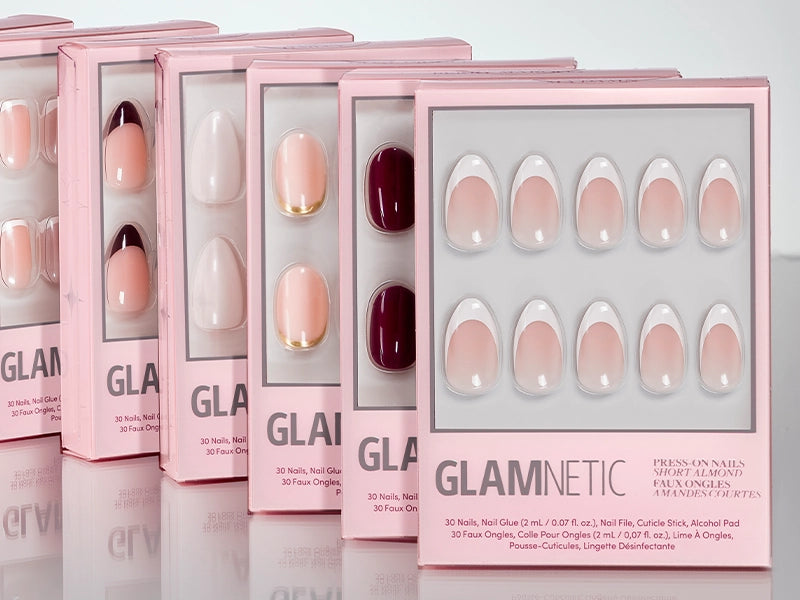
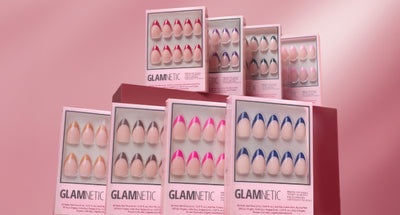
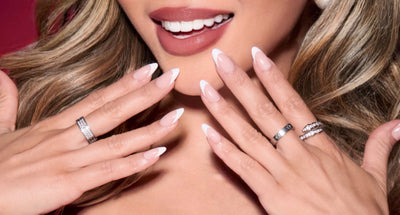
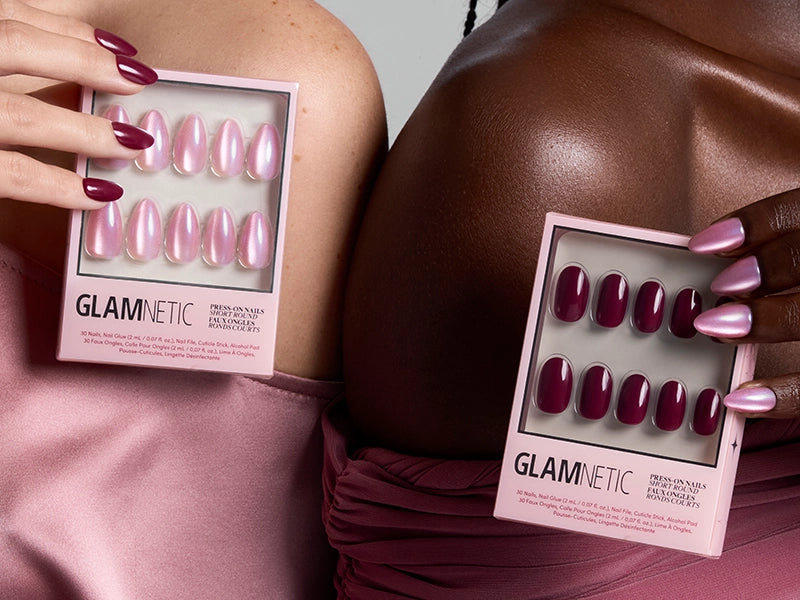
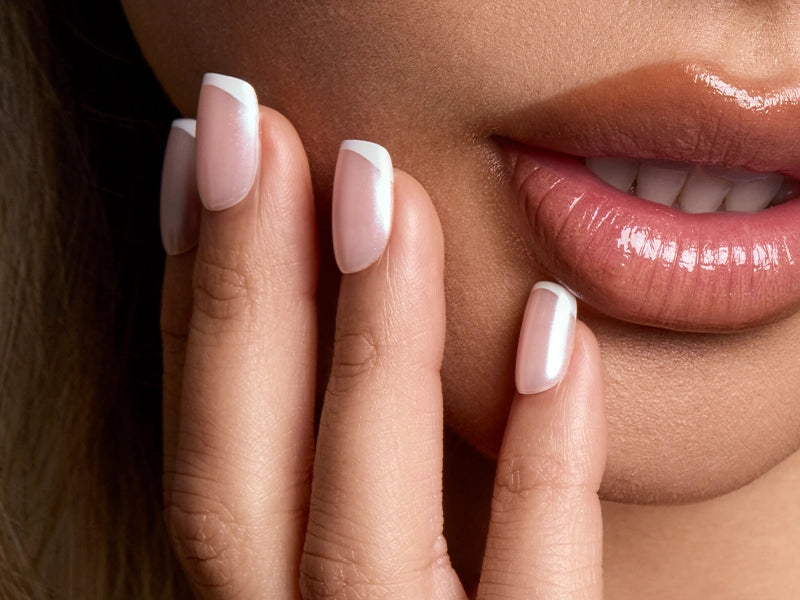
Acrylic nails last long and are very durable, but removal can be tedious and damaging to your natural nails. If you don’t want the hassle of acrylic nails and the maintenance they require, we recommend applying our Glamnetic press-on nails.
Our press-on nails last up to two weeks and can be filed to the shape and length you desire. Plus, we carry tons of super cute sets that won’t damage your natural nails when you go to remove them.
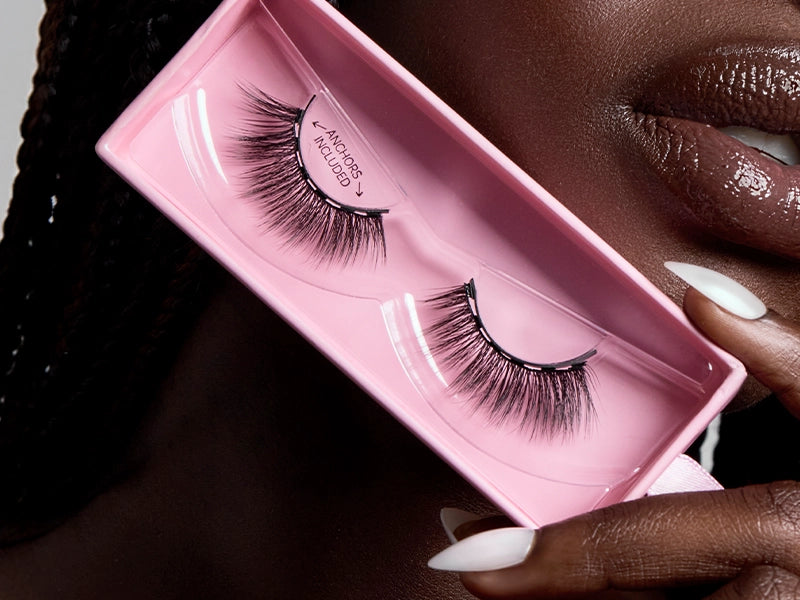
Try any of our press-on nail sets for a glam look you can apply easily in just a few minutes. Press-on nails are much easier to remove than acrylic nails, so why not try some on for size?
♡SUBSCRIBE BELOW FOR 15% OFF YOUR GLAMNETIC PURCHASE!♡
Sources:
Pregnant Cardi B unveils insane diamond-covered nails | Page Six
Overlay Nails Photos and Inspiration | Pop Sugar
Cuticle Guide: Parts of a Cuticle and How to Take Care of Them | Nail Pro


