


Mascara Hacks You Need to Try

Like many makeup techniques, there’s no one way to apply mascara. Instead, you simply try out different hacks until you find the one that’s best for you and gives you the least hassle.
Falling in love with your makeup routine is one of the fastest ways to get awesome-looking makeup for every occasion. So, if you’re looking for one more reason to take out your makeup kit and work some magic, here are some mascara tricks you need to try.
Let’s get your eye makeup game turning heads!

7 Mascara Hacks for Fuller, Longer Lashes
Tired of scanty-looking lashes? These tips will help you create the illusion of lustrous, natural-looking lashes no one can resist.
1. Start with a lash primer
One of the smartest ways to give your lashes the look they deserve is to prime them for the mascara. When you prime your lashes, it makes your mascara last longer. It also keeps the lashes from flaking or getting smudged up, ruining your look. Also, when you prime your lashes first, it gives them a longer look.
Applying the mascara further elongates the look, adding more volume to the lashes, so they look longer than they really are.
2. Wipe, then swipe
Before you apply your mascara, getting rid of clumpy dried-up residue on the wand can help you create an even smoother finish. One way to do this is to get a tissue and wipe the wand’s bristles.
This will blot out excess mascara from the brush and prevent splodgy lines when you put on your mascara. It’ll also allow each swipe of the mascara easily on your lashes to create smooth, clean lash lines to look fuller and thicker.
3. Choose the right mascara
Sometimes, going for the right mascara for your lashes might be the solution you need. Everybody has the perfect makeup product for them, from your choice of eyeliner to something as simple as lipgloss.
The hack here is to find the right mascara for you. So how do you know perfect mascara? Take your time to review different brands before you buy any. We like to recommend going for mascara products that come with a really bristle brush as they will give your eyelashes a naturally full and defined look in one swipe.

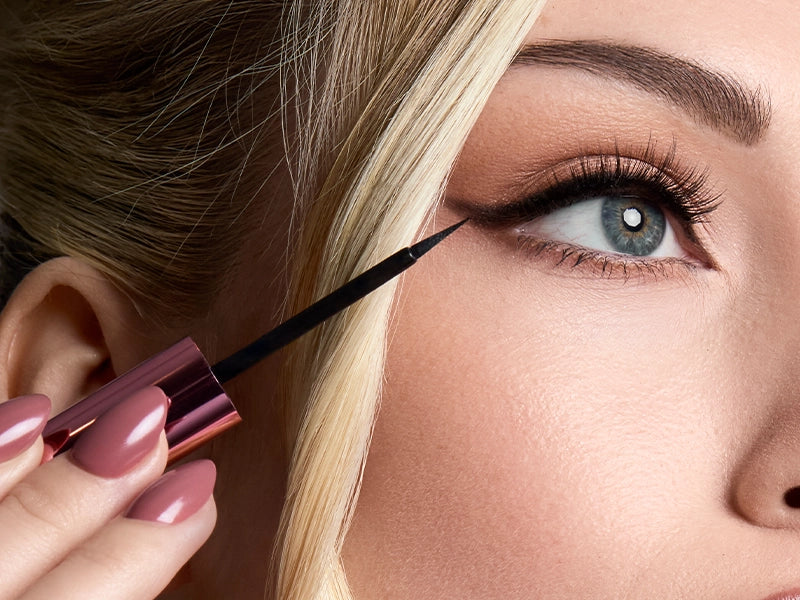
4. Don’t sweep, wiggle
Usually, you should apply mascara on your lashes in a sweeping motion. For most people, it’s an upward sweep. Let’s try something different. Instead of sweeping upwards, wiggle your mascara wand on your lashes to give it some volume.
When you’re done wiggling, now roll the wand from the base of the lashes outwards instead of giving it the regular sweep. This helps you extend the length of each lash for a fuller look.
5. Heat works too
You’re probably wondering, what’s heat got to do with any of this? A lot, actually. Some people like curly eyelashes instead of long, full ones. If you’re one of them, arm yourself with a lash curler because you’ll be needing it.
Once you have your lash curler, heat it up using a blow dryer to give you a longer-lasting curl and maximum volume. It’s important to note that before you use your heated-up lash curler on your face, you should check it out to see if the heat is suitable to avoid getting burned.
Once your lashes are all curled up, now apply the mascara, following the direction of the curls for best results.
6. No mascara unless it’s dry
Mascara and moisture are not the best duo. If there’s moisture on or around your lashes area, be prepared for some smudge-fest. Before coating your lashes with mascara, make sure the eyelid is completely dry.
You can use an eyelid primer to keep the moisture away or set your concealer with powder so that the area is dry. If a dollop of mascara falls on the moist area, it can easily get smudged, ruining your overall look.
Keep it nice and dry.
7. Save your mascara
Once you open your mascara bottle, it has about two to three months of shelf life. But we have a hack that can help you add some more days to its lifespan.
You need a contact solution. Yes, the liquid solution that often comes with contacts. Adding a few drops into your bottle helps break up the mascara formula and thin out the liquid. So you get a few more swipes from it.
This hack will be a lifesaver before you can dash to the store for your next bottle of mascara.

Final Words
These tips are just about all you need to improve your mascara application and eye makeup.
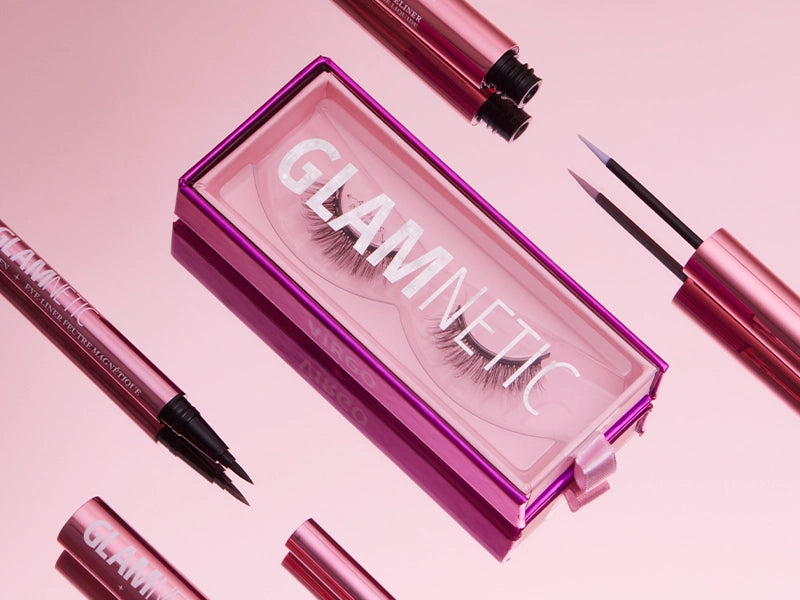
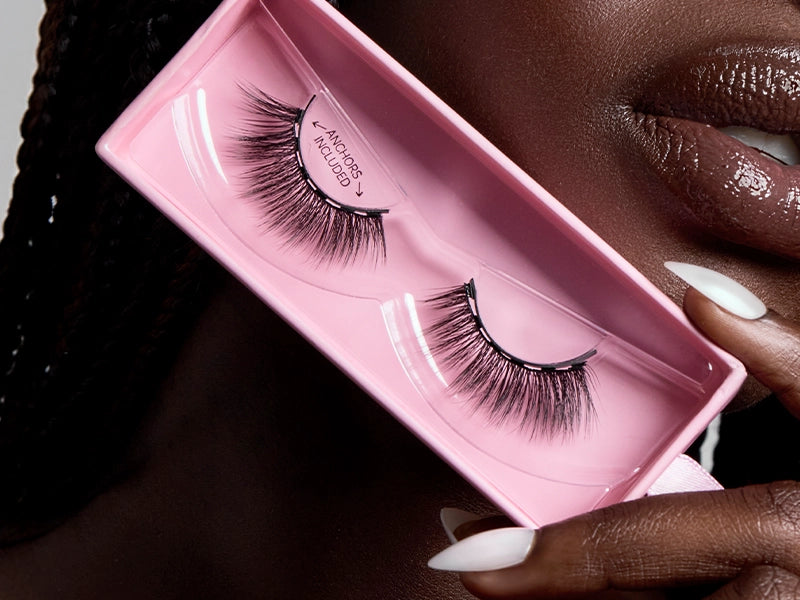
They’re easy, so you don’t need to watch any special makeup videos to achieve them. However, if mascara is just not your thing, you can try natural-looking magnetic lashes that’ll save you the stress!
♡SUBSCRIBE BELOW FOR 15% OFF YOUR GLAMNETIC PURCHASE!♡


