


Your Guide on How to Remove Gel Nails

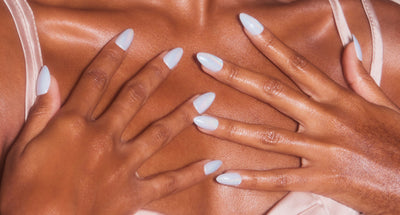
Gel nails have become increasingly popular because they last two to three weeks and can be styled in many different artistic designs. Their longevity is a result of the way they are cured under a UV or LED-lighted lamp.
Acrylic nails also have long-lasting power, but they don’t have the glossy finish that makes gel nails so covetable. Gel’s glossy coat gives you a polished finish that looks super sleek.
That said, when gel nails are worn too long, they can stain your natural nails and leave the health of your claws in jeopardy. The temptation to pick, peel, or bite the polish off can be a strong one, but doing so will take off layers of your nail bed.
Removing gel nails properly will take a little time and patience, but will be well worth it in the end. By choosing to follow these standard gel nail removal instructions, you will ensure that your nails remain in good health, so that you can keep rocking awesome manis.
Supplies You Need to Remove Gel Nails
First, know that you’ll be using 100 percent acetone, so make sure you are working in a well-ventilated area. Acetone breaks down gel and polish and makes it easier to remove.
There are a few things you’ll need to have in order to remove your gel nails correctly at home.
♡ Nail file and nail buffer
♡ 100 percent acetone
♡ Cotton balls
♡ Aluminum foil: Cut out ten 3x3 inch pieces (one for each nail). You may also use plastic wrap. Plastic wrap prevents acetone from dripping.
♡ Cuticle stick
♡ Cuticle oil, vitamin E oil, or petroleum jelly
Steps For The Removal of Gel Nails
First, completely soak ten cotton balls in 100 percent acetone. Make sure they are completely soaked in the acetone; this is very important.
Be careful! Acetone can damage countertops and surfaces, so protect your work area with plastic wrap and a towel. Work over a sink if possible.
Cut ten pieces of foil into 3x3 inch pieces. You’ll use these on your nails while they’re soaking. Make sure you provide yourself with enough soaking time, so don’t rush the process.
♡ File
File down the top of the gel nail. The purpose is to break open the top layer of gel so that the acetone can penetrate the nail. Use a coarse nail file and file slowly so that you don’t file too deeply.
♡ Protect the Skin Around the Nail
Apply the petroleum jelly or oil to the skin around your nails and cuticle area to protect from the acetone. Acetone is very drying to the skin, so protecting these areas with cream will help prevent damage to your skin, because who wants that?
♡ Soak Your Nails
This step will be where you need to practice patience, so take a deep breath and pop on your fave Netflix show (Too Hot to Handle, anyone?). Soak one cotton ball per finger in pure acetone and place each cotton ball on your nails. The cotton ball should be the size of your nail, so you may want to cut cotton balls down to size to get a perfect fit.
Wrap each nail, securing the cotton ball in place, with the small pieces of foil. This will get tricky toward the end of the application. Let your nails soak for ten to fifteen minutes or until the gel looks like it is slipping off of your nails.
If you need to soak them longer, replace the old cotton ball with a newly soaked one and let it sit for five minutes longer. You’ll know they are ready when the gel can be removed with very little pressure.
Make sure that the cotton ball is completely soaked in acetone and that you are using pure acetone and not regular polish remover. Regular polish remover is diluted and will take much longer to break down the gel than 100 percent pure acetone.
Pro tip: Cotton balls work better than cotton pads for this process because cotton pads absorb the acetone quickly and can dry out faster than cotton balls.
♡ Remove the Foils and Gently Remove the Gel Polish
Once your gel has loosened, remove all of the foil from each nail and apply pressure to each cotton ball on your nails. Work, continuing to apply pressure on each nail to remove the gel.
For the few stubborn spots that may need extra coaxing, use your cuticle stick to pry underneath the gel and remove. If you have places that still don’t want to budge, don’t force it—that might hurt those gorg natural claws. Just replace a soaked cotton ball in foil for five more minutes and try again.
Wash your hands with soap and water to remove any small gel fragments and acetone from your hands. Ah, fresh, clean nails.
♡ Rehydrate Your Hands
The removal process of gel nails is very drying because acetone removes oil from your nails and skin. After removing the gel, try soaking your nails in coconut oil for five minutes to restore some moisture. If you don’t have coconut oil, try using cuticle oil or olive oil. You can also slather on your favorite hand lotion to get a bit more moisture up in there.

Nail Rehab
After a few gel nail applications and removals, your nails will probably need a little TLC. Damage is inevitable, just like damage occurs to your hair when you get it colored or bleached (but that purple hair looks so good on you, we know). Nails become thin and brittle, but the damage isn’t permanent.
If you wear gel nails frequently, your own nails might be a tad bit brittle. It’s time to start your own rehab facility and get your nails the care they need, stat!
♡ Wear gloves when you clean or are using products that may be harsh on your skin or nails.
♡ Get into the routine of moisturizing your hands routinely. Keep a bottle of lotion near sinks at home and in your cosmetic bag.
♡ Drink lots of water and eat hydrating foods. Doing so will help hydrate you from the inside out, providing more radiant skin and nails.
♡ Care for your cuticles by using cuticle oil and avoid picking at them. Cuticles protect your new nails that are growing underneath.
In Conclusion
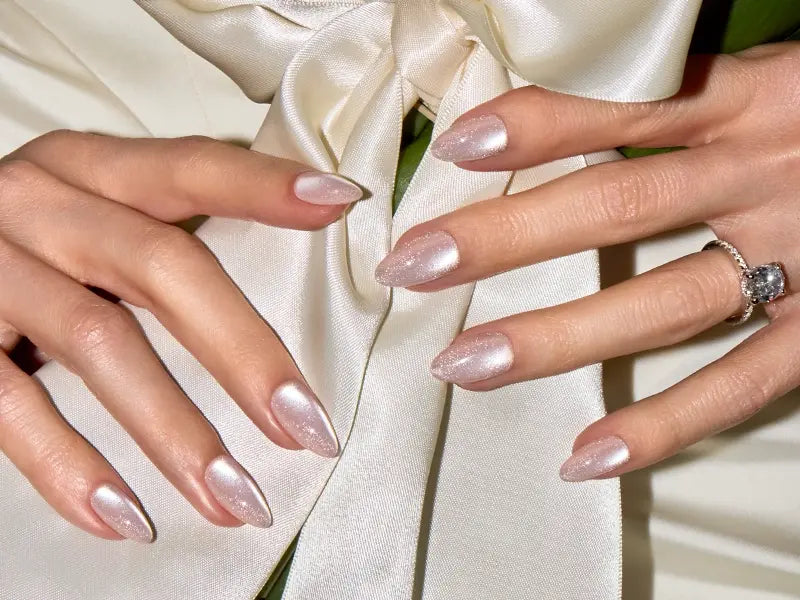
Gel nails are fun to wear and last longer than having a regular nail polished mani. Going to the salon just to get them removed can definitely suck, though.
Proper removal is critical if you want your nails to remain healthy, and who wouldn’t want the longest, strongest nails possible?
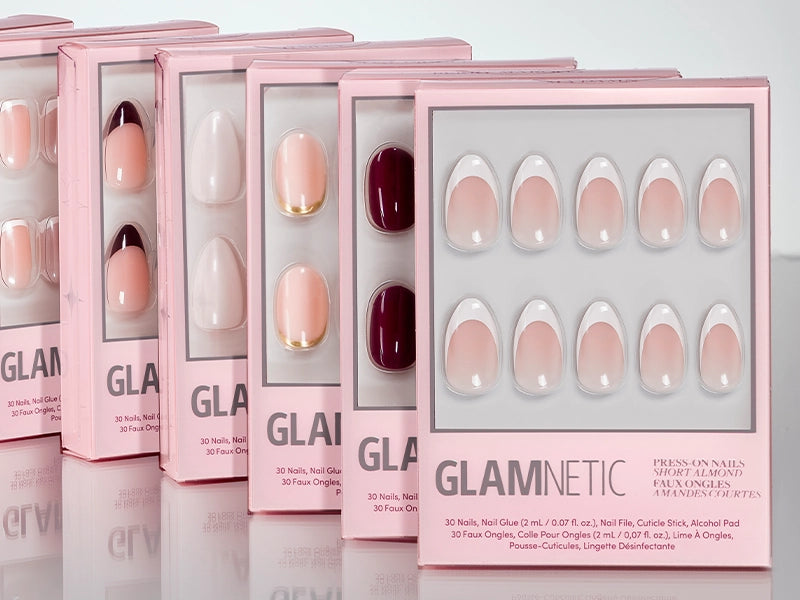
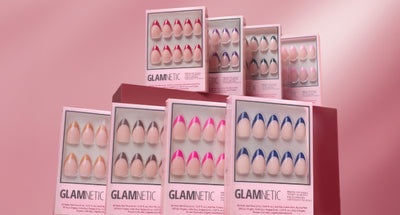
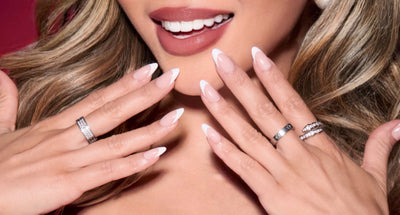
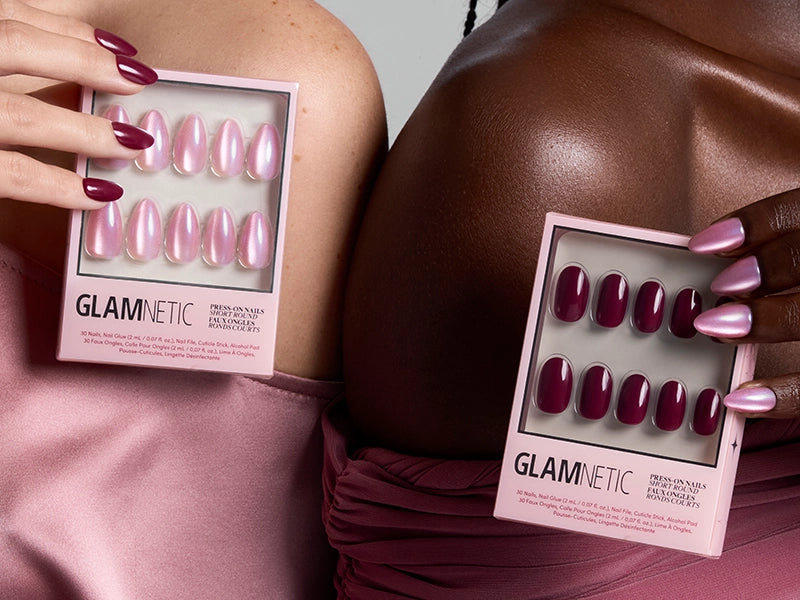
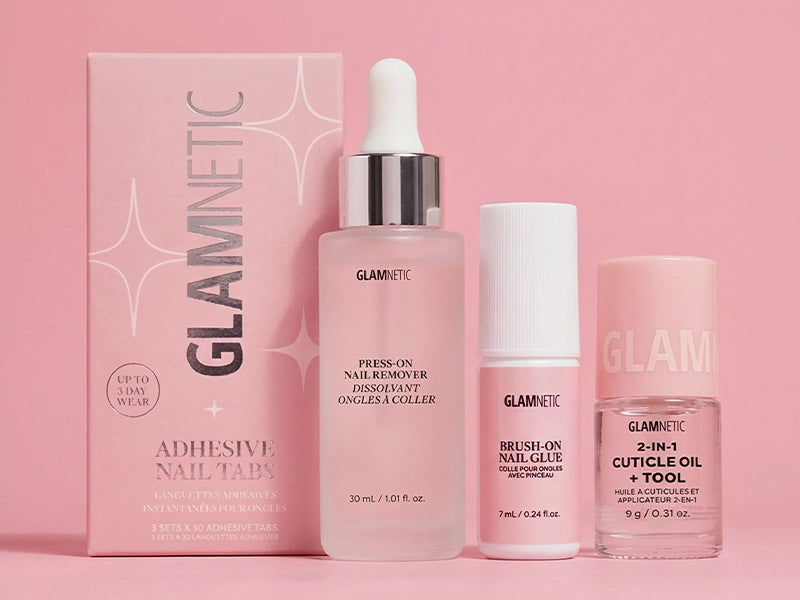
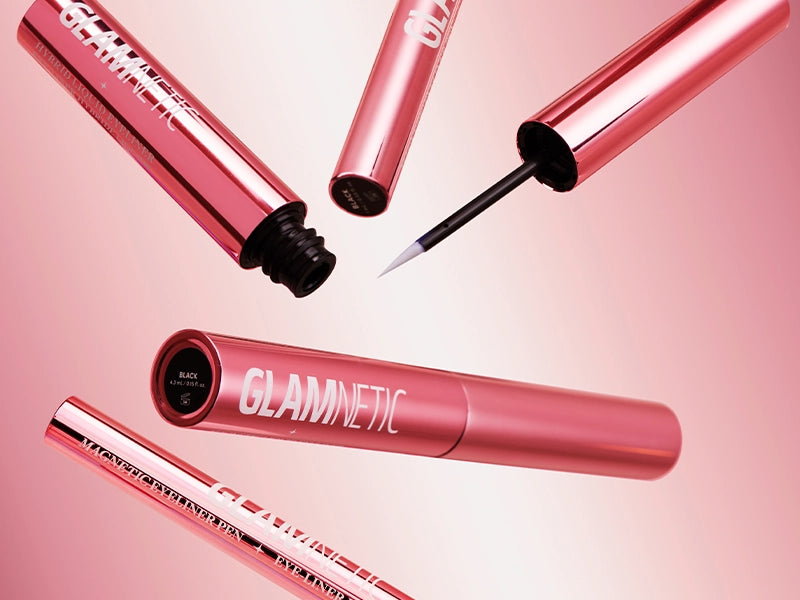
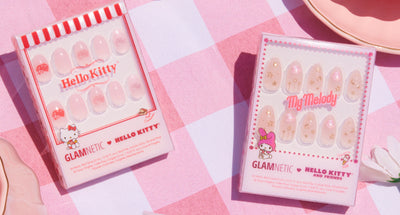
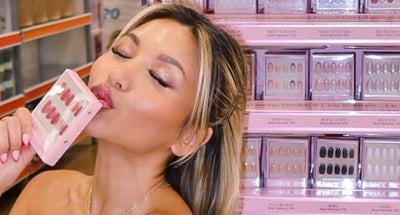
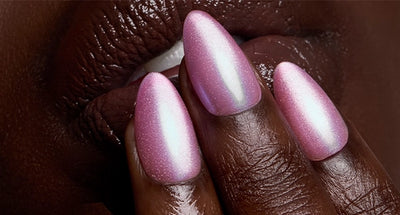
If you still want the manicured look without the hassle of gel nails, press-on nails are a fab option. Glamnetic nails are fun to wear and take a fraction of the time to apply. They’re very easy to remove, way cheaper than hitting the salon every two weeks, and you can get literally any design you want. What’s not to love?
♡SUBSCRIBE BELOW FOR 10% OFF YOUR GLAMNETIC PURCHASE!♡
Sources:
Dermatologist's secret for removing gel nail polish at home | AAD


