


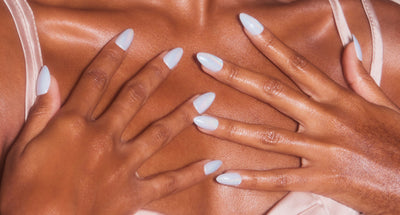


Your How-to for at Home Manicures

You don’t have to be Picasso to create beautiful nails at home. With the proper tools and a little patience, it can be easy and fun to get a manicure just like the one you’d get at the nail salon. The team at Glamnetic has created a simple how-to guide so that you can create a beautiful manicure at home.
Make a Plan
Begin by making a plan. Are you doing your nails just for fun, or do you have a special event coming up? This will help you determine which nail polish colors you want to use.
Super bright colors and quirky designs can be cool if you’re creating a look for your own satisfaction, but it may not be suitable for a formal event. Figure out the look you're going for and choose your color palette accordingly.

Gather Your Supplies
The supplies you need to create a beautiful manicure can be found at your local retailer.
Remember that while fancy packaging on bottles is super cute, it doesn’t always mean a higher quality product. Just choose a color that you love and stick with that when building your nail kit.
It’s time to collect your materials:
Nail File and Buffer
You’ll want to buff and file away any uneven nail edges or surfaces for a smooth color application. You may also want to have nail clippers on hand if you plan on drastically changing the shape of your nails.
Cuticle Stick
A cuticle stick is used to gently push back your cuticles. This provides a clean edge between the cuticle and the nail and allows color to look precisely painted.
Alcohol Pads or Cotton Balls
These clean off any dirt or oils you may have been lingering on your nail bed before you paint your nails.
Nail Polish
The most important part of a DIY manicure is the color. Choose which color or colors you want to use. Also, make sure that your old polish hasn’t gone bad—if it’s gloppy or extra thick, it’s time to throw it away. If you’re using specialty polish like gel, make sure you’re aware of any special application or removal techniques that you need to know.
- Shake the bottle. If you can hear the ball roll around inside, then it is still usable polish.
- Open the bottle, make sure the paint isn’t thick and gooey. Expired nail color tends to be messy and can take a really long time to dry.
Base and Top Coats
The same rules apply to these lacquers. Make sure they haven’t gone bad.
- A base coat will create a barrier between your nail and the polish. This first coat prevents staining on your nails, especially if you are using a darker color polish.
- A topcoat acts as a protective sealant to the polish. It protects from chipping and water and helps your polish last longer.
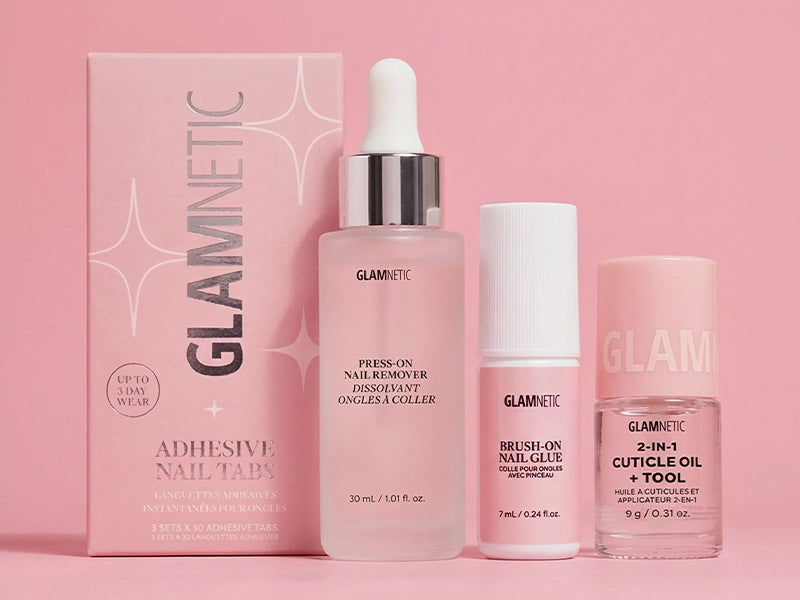
Polish Remover
This will be used to clean up any mistakes and for removing your nail creation later when you’re ready for a change.
Extras
Bonus! Grab an exfoliator or a scrub and a rich, buttery hand cream for maximum pampering power.
Show Time for Your Nails
Get ready to begin by washing your hands with soap and water. This will help prevent the spread of germs and remove oils and dirt from your hands.
Calm Your Cuticles
After washing your hands, grab your cuticle pusher and gently push your cuticles back. You can also do your cuticles after taking a shower or bath because the warm water helps to soften the cuticle area. Be careful when pushing your cuticles back because this area of your nail is tender and delicate. For even better results, soak your nails briefly in a bowl of warm water and use cuticle oil before pushing them back.
By completing this process, you are creating the illusion of a longer nail while also keeping them healthy and well-groomed. It also provides for a seamless application of your polish around the nail bed area.
Your cuticles are important because they protect your new nail growth from bacteria. Do not remove or trim your cuticles. If you feel like your cuticles need to be trimmed, see a professional manicurist to be sure it is done correctly. Irritation in the cuticle area is no fun.
File And Buff
If you’re planning to shorten your nails a lot, now is the time to clip them. Then, grab your nail file and file to the desired length. Also, make sure to file away any rough edges around your nail.
Use a nail buffer to buff the top of your nail. The nail file (emery board) can be too harsh on the top of the nail so make sure to use the buffer for this area instead. Buffing primes the surface that will be painted, kind of like brushing your teeth. It cleans the surface and smooths it out.
Exfoliate And Moisturize
This step is optional, but it’s highly beneficial because it leaves your skin velvety smooth.
Apply the exfoliator to your hands and massage for a few minutes. Make sure to exfoliate the tops of your hands, wrists, forearms, and elbows for extra pampering.
These areas tend to be really dry. Exfoliation sloughs away dead skin cells and leaves fresh, soft skin behind.
After exfoliation, rinse and dry your hands and arm areas and apply a lotion. Hand cream helps to seal in moisture and keep hands soft and supple.
Swipe each nail with your alcohol prep pad to remove any cream that may be lingering on your nails. This is important because you need a clean slate to apply polish.
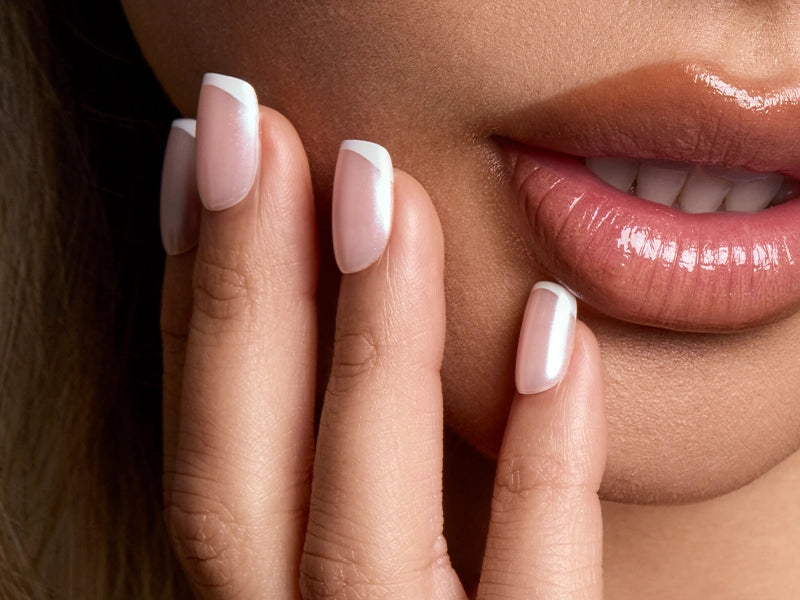
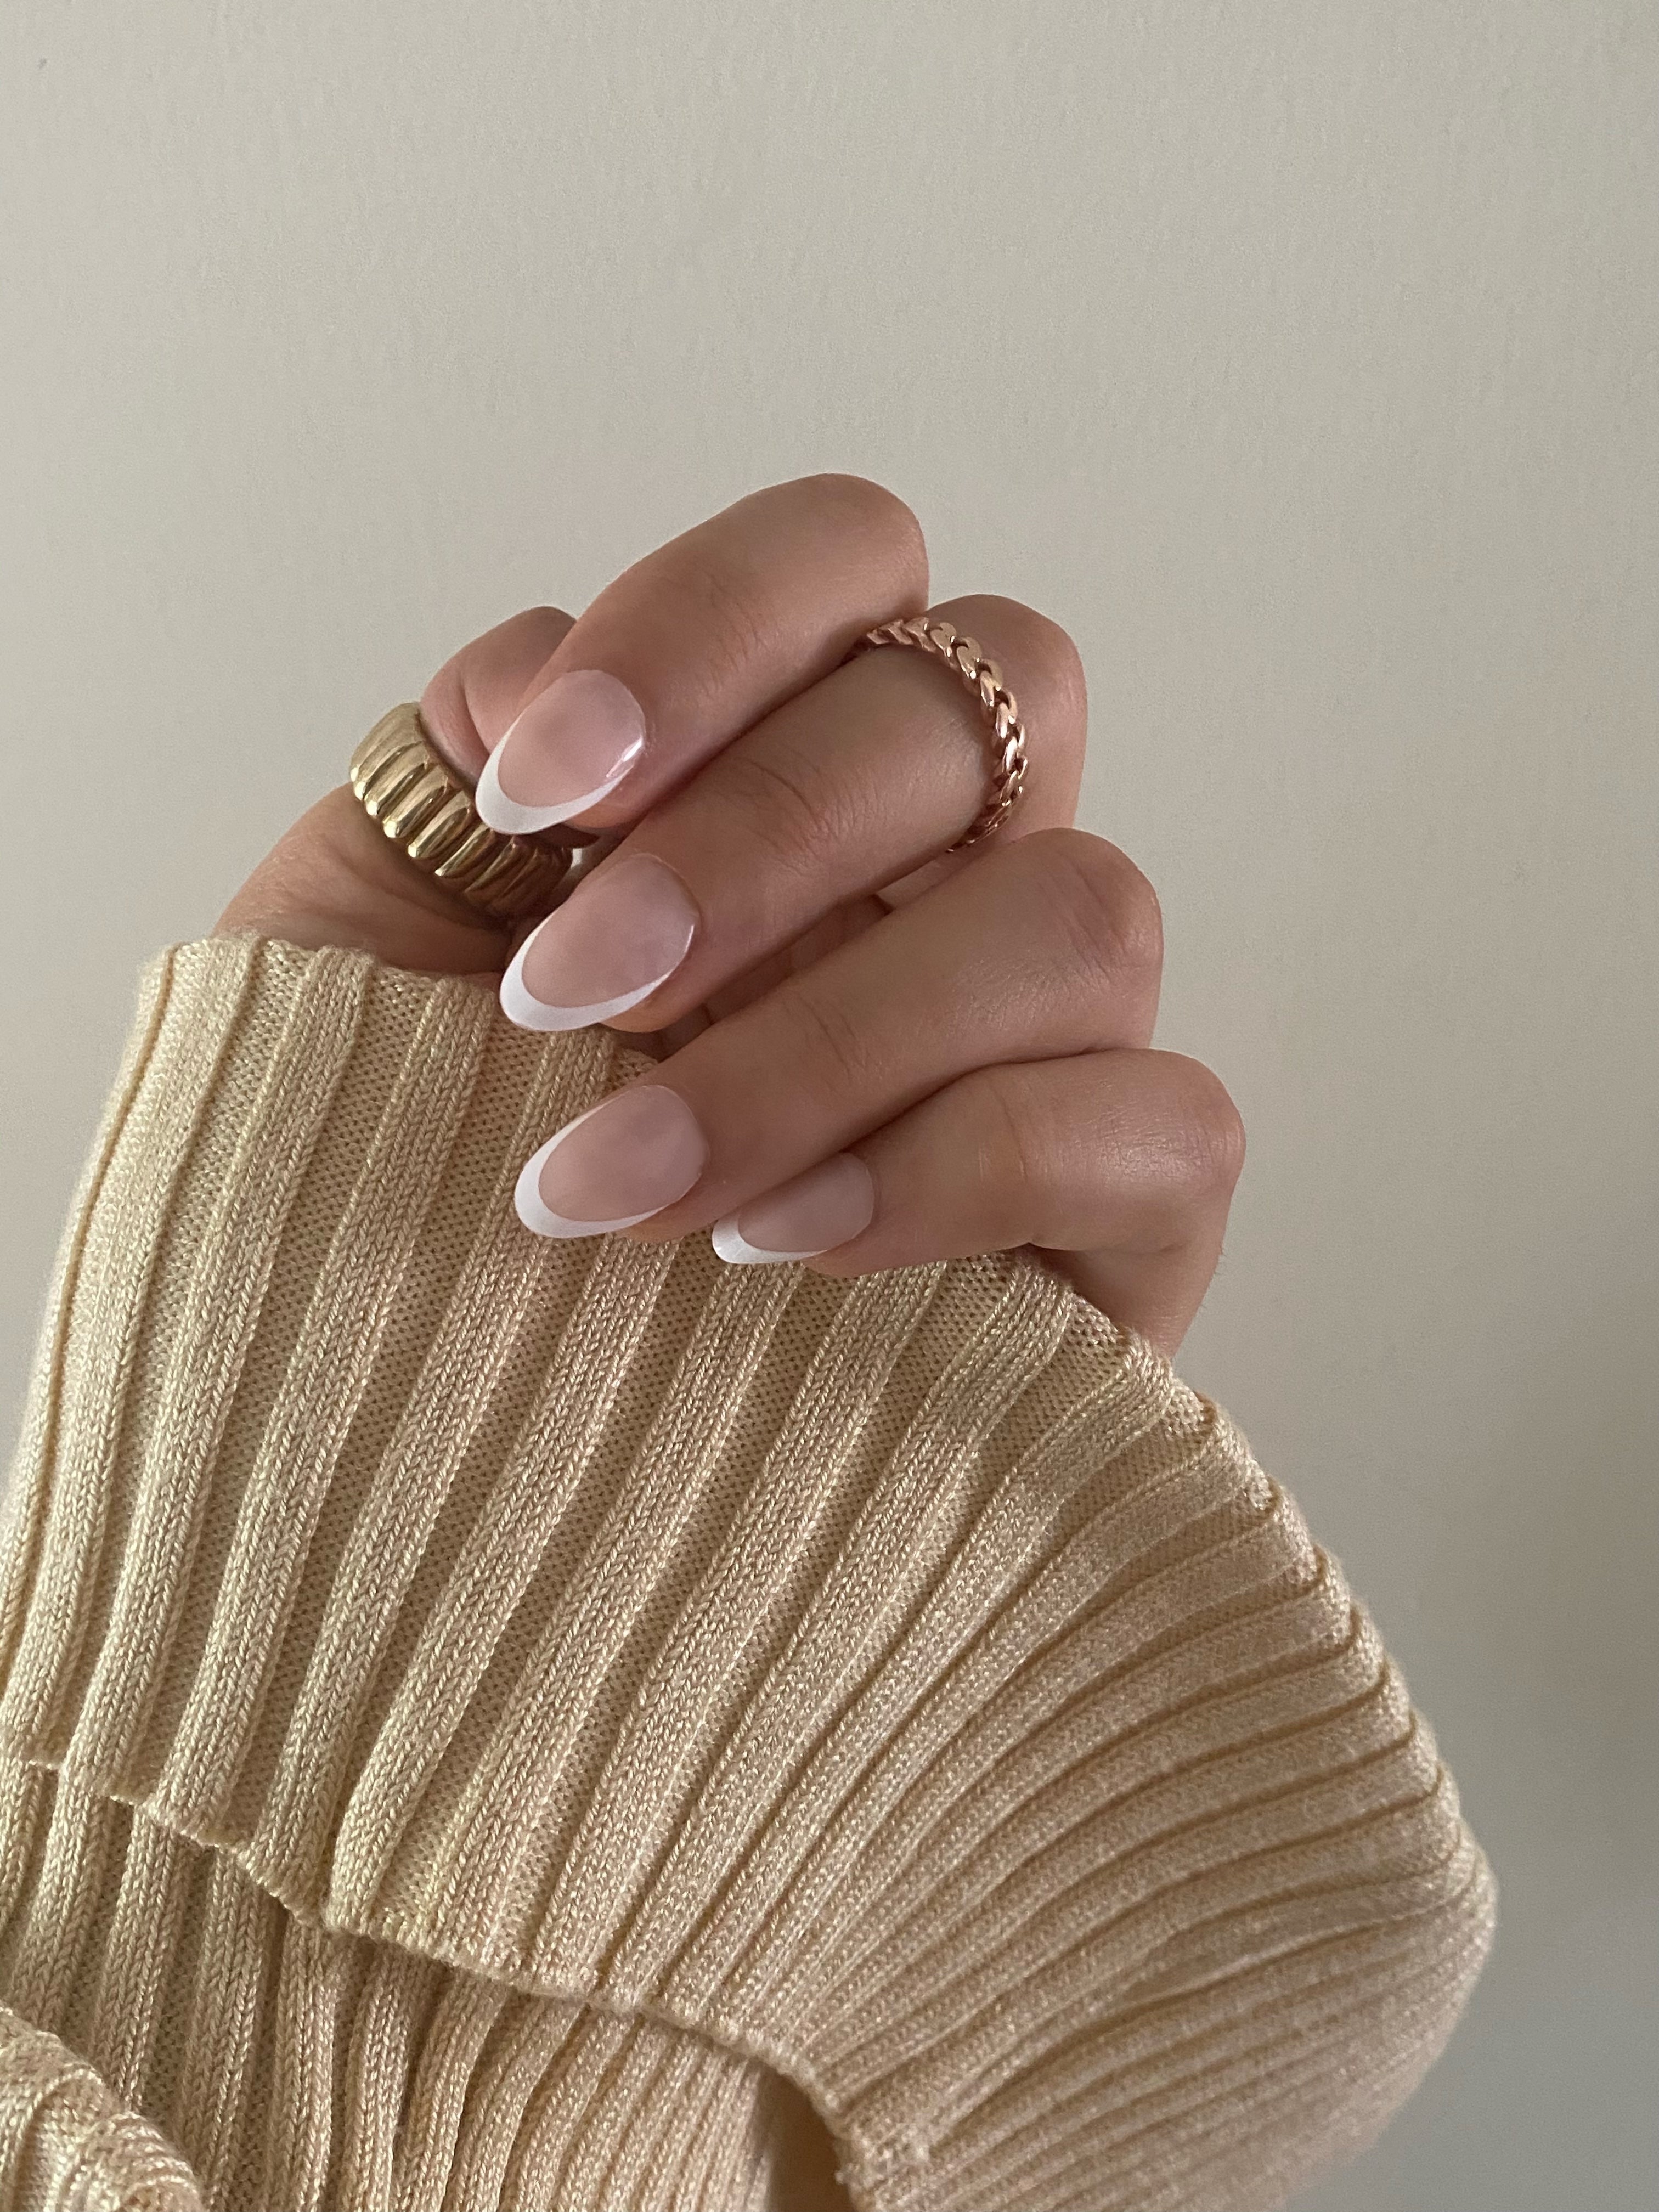
Base, Color, And Top Coats
The thing to remember while painting your nails is to keep the layers thin. Apply just enough polish on the brush to cover one nail at a time. Thick layers take longer to dry and can cause frustrating mistakes.
Apply Your Basecoat
Paint a thin layer of your basecoat all over your nail and allow it to dry for about two minutes. Make sure it is completely dry before using nail polish.
Apply the Nail Polish
First, shake the bottle to blend the color thoroughly. Next, apply your color. We recommend you paint a thin layer in three strokes—once down the center and once on each side.
Wait for another two minutes, or until dry, and apply a second coat in the same way—brush down the middle and once on each side.
If you are using a sheer or pastel color, you may need a third coat. Make sure to let each layer dry for about two minutes before moving to the next coat. Don’t worry about mistakes yet. We will clean those up later.
Apply the Topcoat
In order to create a glossy finish, make sure to apply the topcoat in an even, thin layer.
You can always apply a second coat if needed. Remember that topcoats add longevity to your manicure, so don’t skip this step, or you’ll be chipping before you walk out the door.
Clean Up
Clean up mistakes by using a q-tip or a folded cotton pad’s edge soaked in nail polish remover or acetone. Carefully wipe around your nails to remove any excess polish and reveal a perfect manicure.
Make sure your nails are completely dry before you reach for your bag and run out the door.
Take a Bow
Take a bow, because you did it! It was super easy, right? Having your nails done makes you feel good, so don’t neglect this luxury.
Store your mani supplies in a cosmetic bag for an easy grab next time.
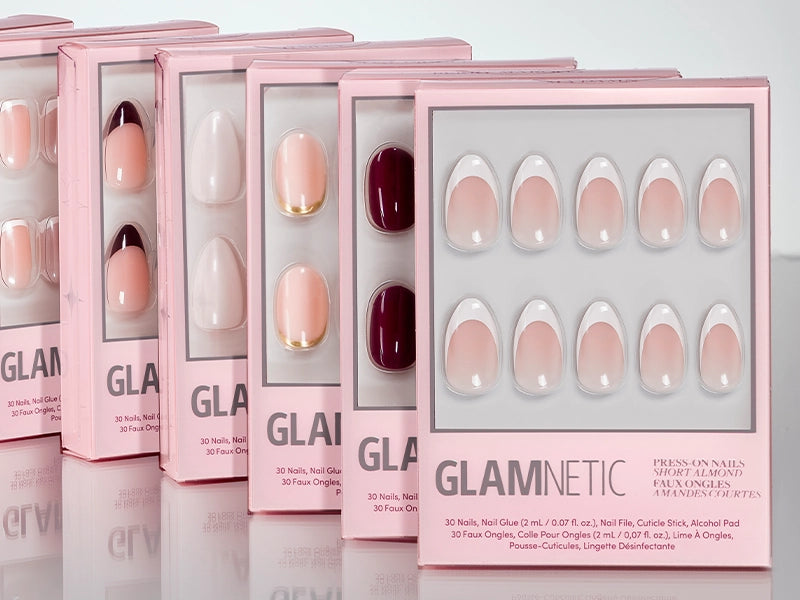
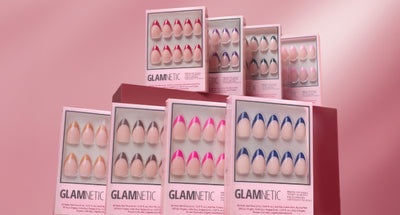
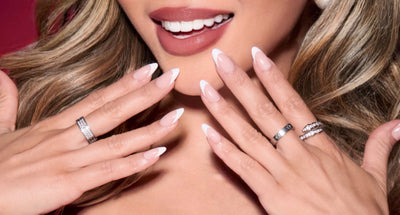
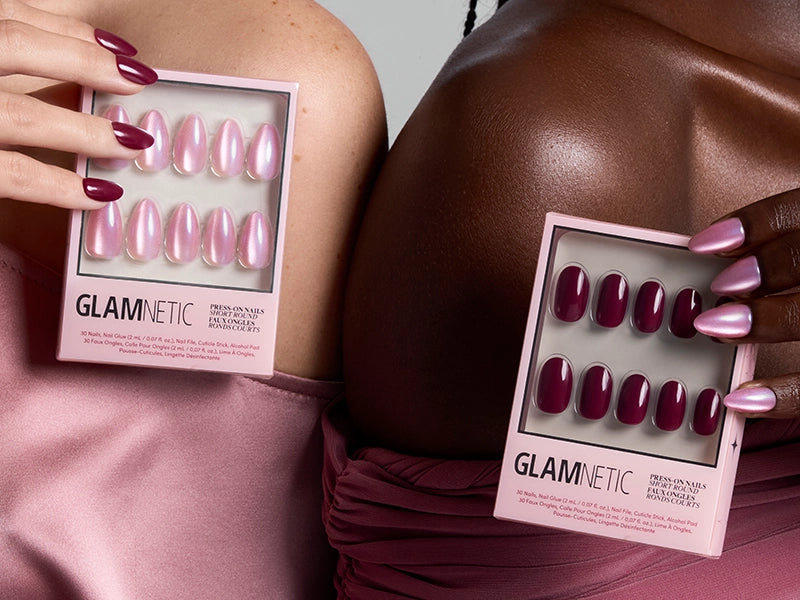
If you want the salon look of a manicure but don’t have time for the whole shebang, reach for Glamnetic Press-On Nails. They take two minutes to easily apply and look super trendy. Whether you’re looking for a long but subtle coffin nail or colorful almond nails, they have an option for you.
Whichever nail look you go for, remember that you’re doing it for yourself, and you deserve it.
♡SUBSCRIBE BELOW FOR 10% OFF YOUR GLAMNETIC PURCHASE!♡
Sources:
Cuticle Guide: Parts of a Cuticle | Nail Pro
Cuticle: What Is It, Care, Removal, Signs of Infection, and More | Healthline
Nail Files Vs. Emery boards Vs. Nail Buffers- [WHAT YOU SHOULD KNOW] | Designs Authority


