


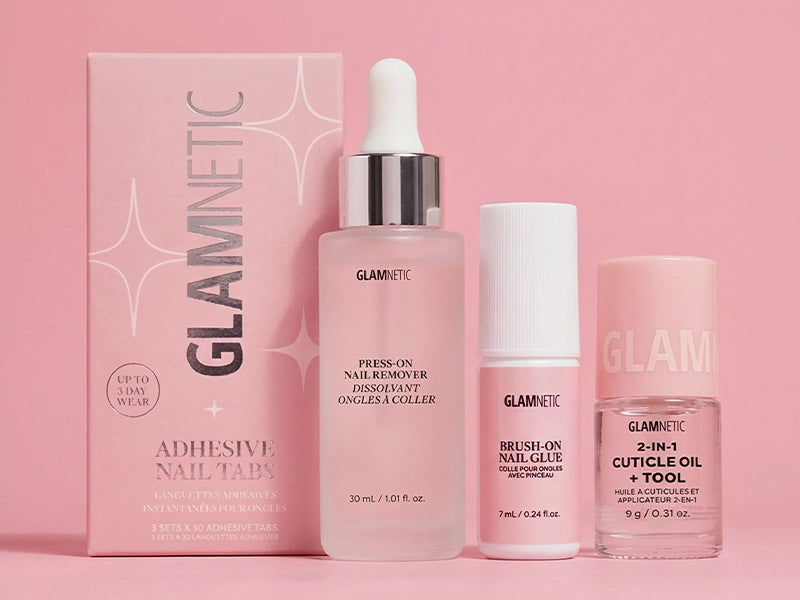

Before removing your press-on nails, make sure to grab all the tools you need to get it done the healthy way and keep your natural nails protected!
How To Remove Press-On Nails
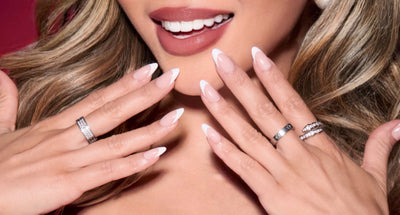
We love a good at-home manicure. It saves time, money, and gives you the freedom to change up your look whenever the mood strikes. Press-on nails are the easiest and most convenient way to achieve stunning manicures all on your own! But when it’s time to remove them, it’s important to do it properly to avoid damaging your natural nails.
Read on for a comprehensive guide on how to remove press-on nails safely and care for your natural nails post-mani, so you can keep your nail game going strong.
Step 1: Gather Your Supplies

- Cotton balls or pads
- Glamnetic Cuticle Pusher
- Nail buffer or file
- Glamnetic 2-in-1 Cuticle Oil
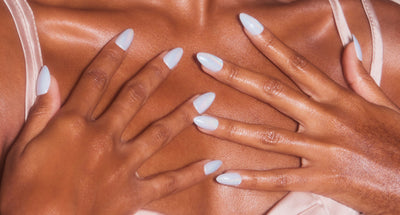
Step 2: Removing Press-On Nails

@concon_wi
- First, soak your hands in warm, gentle soap water to loosen the glue adhesive.
- Then use Glamnetic’s 2-in-1 Cuticle Pusher to lift them off gently.
PRO TIP: Always gently scrub away any leftover glue residue from your press-on nails using a small, soft-bristled toothbrush. This keeps your set clean and ready for reapplication later!
Step 3: Post-Press-On Nail Care

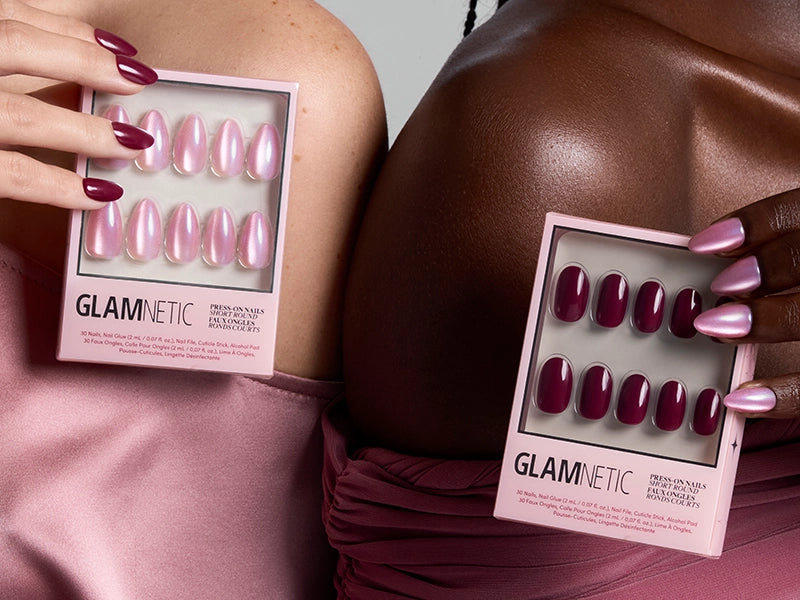
Shop the Manicure Must Haves Bundle Here
- Trim, file, and buff out your natural nails to ensure all adhesive residue is clear, and your nails are sparkly clean again!
- Then use the 2-in-1 Cuticle Oil to keep your nail beds moisturized, nourished, and healthy in between press-on sets.
By following these simple steps, you can effortlessly remove your press-on nails without damaging your natural nails. Remember to care for them afterward by moisturizing, maintaining a healthy lifestyle, and giving them occasional breaks. With proper removal and post-care, you’ll enjoy healthy, beautiful nails that are always ready for your next look!
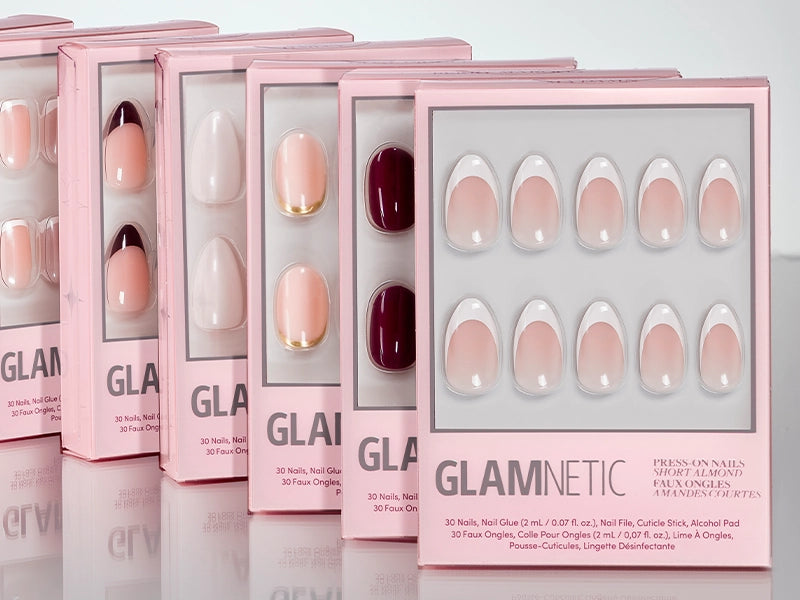
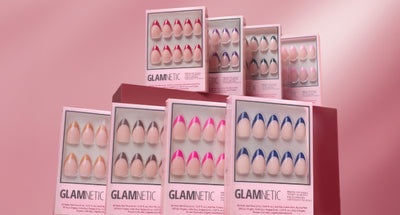
SHOP MUST-HAVE NAIL ACCESSORIES:


