


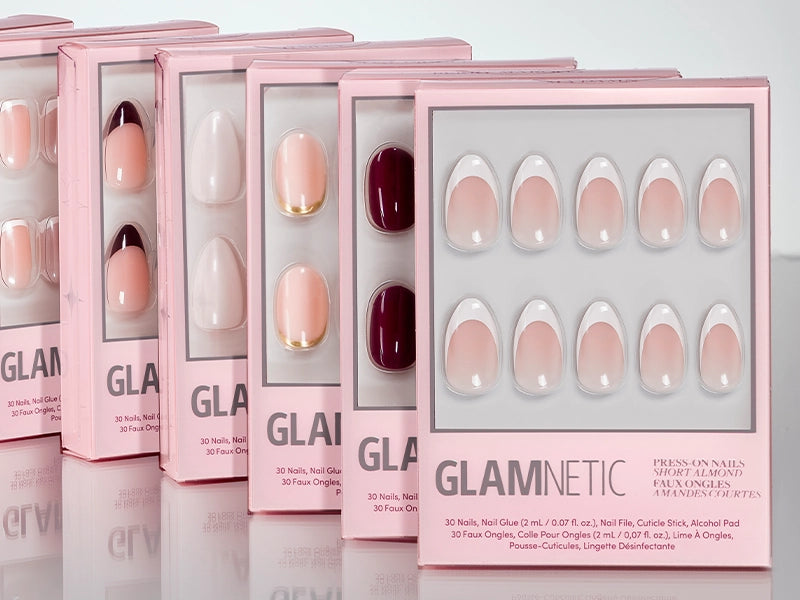

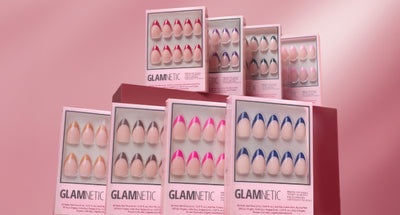
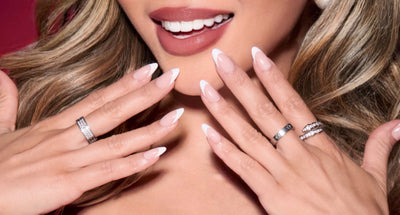

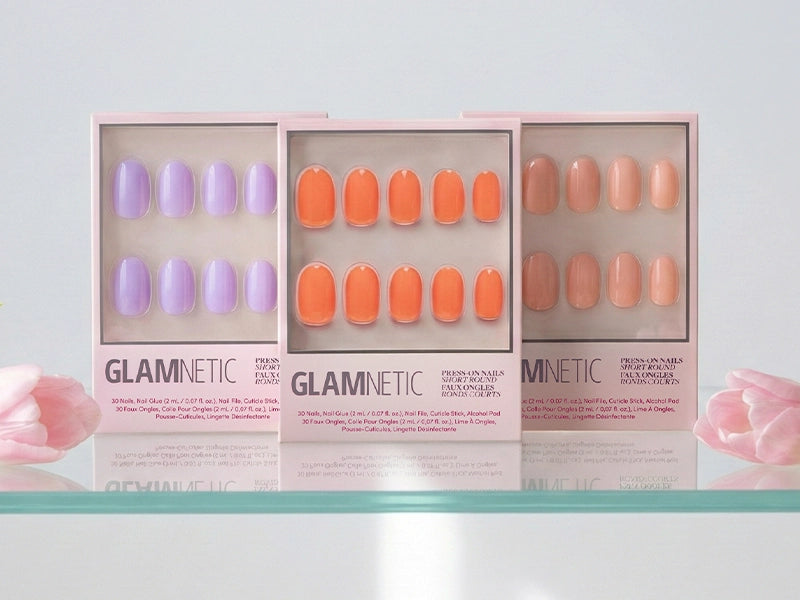
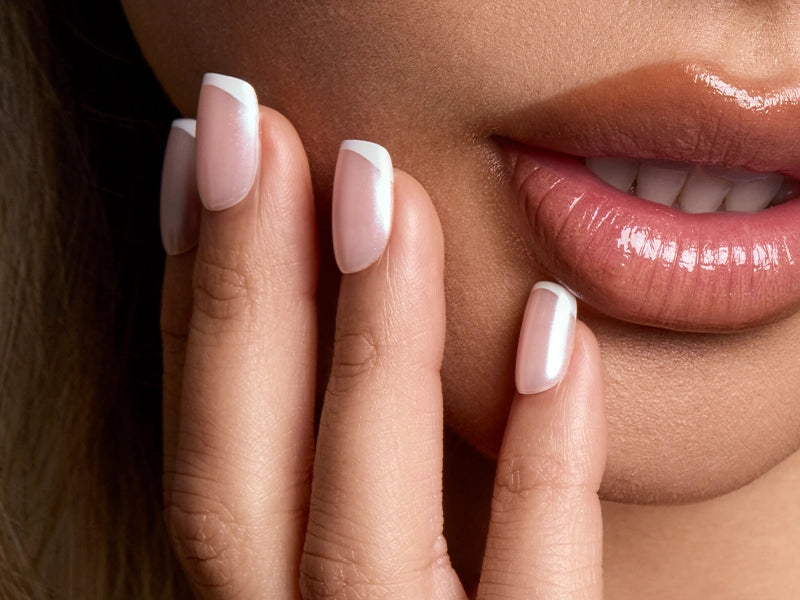


Finally, the press-on nail era has officially taken over! With so many people choosing to save time and money, press-on nails are all the rage. It’s never been easier to achieve a stylish, professional-looking manicure at home, so there’s no reason not to try them. With Glamnetic’s wide range of colors, designs, and shapes, our press-on nails give you the perfect finishing touch to your everyday look. But how do you apply them correctly? We’re here to guide you through the steps so you can use our press-on nails like a pro.
How to Apply Your Glamnetic Press-on Nails
Step 1: Prepare Your Nails!

Before applying your Glamnetic press-on nails, it’s important to properly prep your natural nails. Start by washing your hands and drying them thoroughly. Then, use a nail file to shape your nails and remove any oils or residue with the alcohol pad included in your nail kit.
Step 2: Choose the Right Size
Each press-on nail set includes a variety of sizes to fit different nail shapes. To ensure the best fit, lay out all of the press-ons and match them to your natural nails. If a nail is slightly too big, you can easily trim or file it down. Need extra guidance? Download our sizing guide for help!
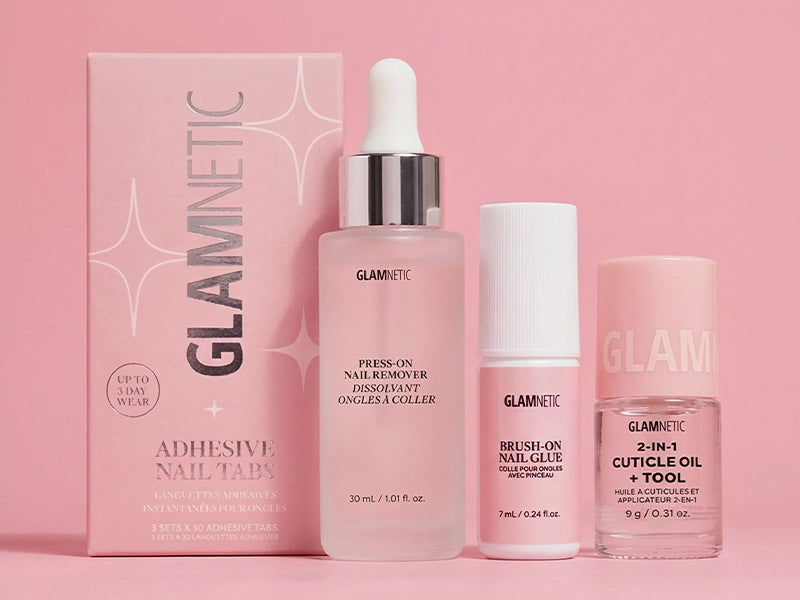
Step 3: Apply Nail Glue
Once you’ve prepped and sized, it’s time to apply the nail glue. Add a thin, even layer to your natural nail and the back of the press-on for long-lasting hold.

Apply a small amount of glue to the back of the press-on nail. Be careful not to use too much, as it may cause the nail to slide or shift during application. A thin, even layer of glue is all you need for a secure hold.
Don’t want to commit to glue? No problem! Our Press-N-Go Removable Nail Tabs are perfect if you like changing your manicure frequently. They’re super easy to use, require no drying time, and allow for seamless removal — so you can switch up your look without worrying about damaging your natural nails.
Step 4: Apply the Press-On Nails
Carefully place the press-on nail onto your natural nail, making sure it’s lined up with your cuticle line. Press down gently but firmly to ensure it adheres properly.
Step 5: Repeat
Repeat steps 3 and 4 for all your nails. Once you’ve applied your full set, avoid washing your hands or doing any tricky maneuvers around the house for about 30 minutes. This ensures your press-on nails are fully secured and long-lasting.
As you can see, it doesn’t take much these days to achieve a flawless at-home manicure. Have fun with Glamnetic press-on nails and enjoy a beautiful, salon-worthy look right from the comfort of your home. Happy glamming!


